Moving Out? Here’s How to Get Your Full Security Deposit Back
Moving out of a rental involves more than packing boxes; it’s about securing the return of your security deposit.
This essential guide dives into understanding your deposit, preparing for inspections, deep cleaning, and repairing damages.
With a focus on detailed preparation and strategic steps, we’ll help you navigate the process to ensure your rental is left in pristine condition, maximizing your chances of getting every penny of your security deposit back.

Understanding Your Security Deposit: What It Is and Why It Matters
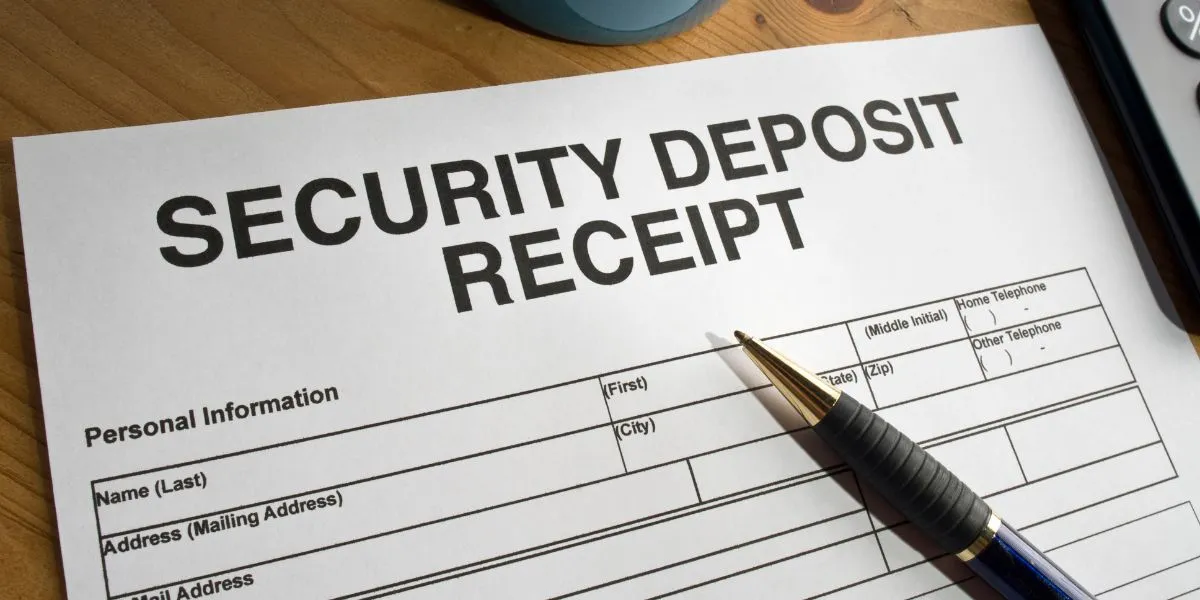
What is a Security Deposit?
A security deposit is a sum of money you pay your landlord or property management company upon signing your lease.
It’s like a safety net for landlords, designed to cover any potential damages to the property that go beyond normal wear and tear, or any unpaid rent.
The amount can vary but is often equivalent to one or two months’ rent.
Why It Matters
Your security deposit matters for a couple of reasons. First, it’s your money being held, and rightfully, you would want it back at the end of your lease.
Second, the way you maintain your rental can significantly impact whether you receive your full deposit back.
Understanding its importance can motivate you to take the necessary steps to ensure the property is well-cared for during your stay.
The Move-Out Inspection: Setting the Stage for Success

Schedule an Inspection
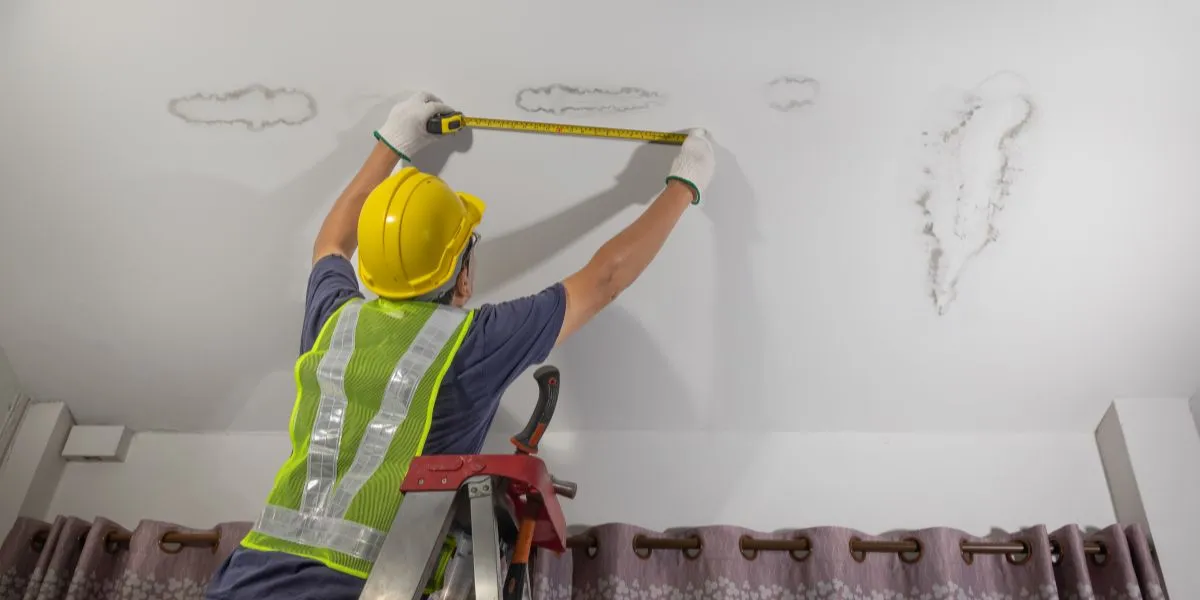
To ensure a smooth move-out process, schedule a pre-move-out inspection with your landlord or property manager.
This gives you a chance to see through their eyes what they will be looking for during the final walk-through.
Understand What They Look For
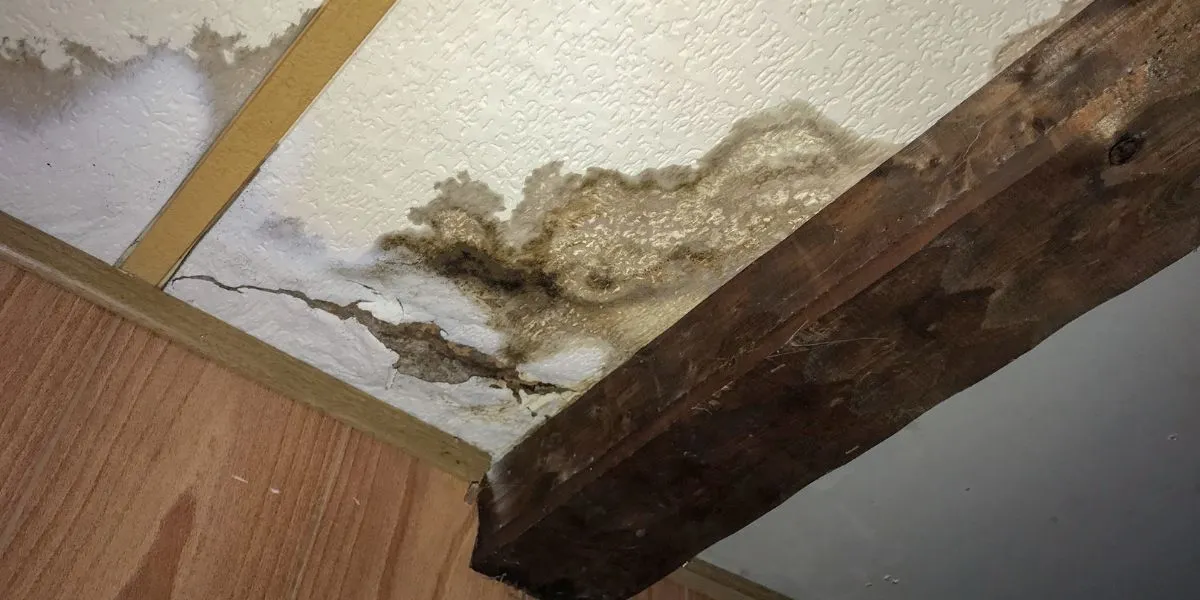
Landlords typically check for damages that exceed normal wear and tear.
This can include holes in the walls, broken fixtures, or stains on the carpet. Knowing what they look for can help you address these issues beforehand.
Use the Inspection as a Guide
Use the feedback from the pre-move-out inspection as a guide to make any necessary repairs or cleanups before the final inspection.
This proactive approach shows your landlord you’re committed to returning the property in good condition, potentially swaying the final decision in your favor.
Deep Cleaning Tips to Ensure You Leave Nothing Behind
Start Early
Begin the cleaning process early. Waiting until the last minute can leave you overwhelmed and might result in missing critical areas.
Kitchen and Bathroom
Pay special attention to the kitchen and bathroom, as these areas are prone to grime and buildup. Clean appliances inside and out, scrub tiles, and don’t forget to descale faucets and showerheads.
Floors and Carpets
Vacuum carpets thoroughly and treat any stains. For hardwood or tile floors, sweep and mop, paying extra attention to corners and under furniture.
Walls and Windows
Dust and wash walls, being careful to remove any scuff marks. Clean windows inside and out, including the sills and tracks.
Repairing Common Damages Before the Final Walk-Through

Patch Holes
Small holes from nails or screws can be easily filled with spackling paste. Once dry, sand the area smooth and touch up with matching paint.
Fix Leaks
Address any leaks under sinks or in toilets. These repairs can often be simple to fix but can cause significant damage if left unattended.
Replace Broken Fixtures
Check all fixtures, including lights, doorknobs, and blinds. Replace any that are broken or not functioning correctly.
Touch Up Paint
If walls are significantly marked or the paint is chipped, consider touching up these areas with matching paint. A fresh coat of paint can breathe new life into a room.
Document Everything: The Importance of Before-and-After Photos
Capture Every Detail Before Moving In
Before you move your belongings into your new home, take detailed photos or a video of the entire property.
Focus on existing damages, no matter how small. This step is crucial for comparing the property’s condition at move-out.
Keep a Record During Your Stay
If you make any repairs or notice new damages during your tenancy, document these changes. Keeping a running record helps demonstrate your proactive approach to maintenance and care.
Detailed Photos Before Moving Out
Once you’ve cleaned and repaired the property, take another set of detailed photos or a video.
These should mirror your move-in documentation to provide a direct comparison of the property’s condition.
How Documentation Protects You
Documenting everything serves as your evidence if there are disputes over the condition of the property at move-out.
It’s your strongest tool for proving the property was returned in a condition similar to or better than when you moved in.
Negotiating Wear and Tear vs. Damage: What’s Fair?

Understand the Difference
Wear and tear refers to the natural deterioration of the property over time due to normal use.
Damage, however, is harm that affects the usability or value of the property and can be attributed to negligence or abuse.
Communicate Openly With Your Landlord
If there’s a discrepancy over what constitutes wear and tear versus damage, discuss it openly with your landlord. Provide your documentation and reasoning to support your case.
Know Your Rights
Familiarize yourself with local landlord-tenant laws, as these often outline what landlords can reasonably charge for. This knowledge can empower your negotiations, ensuring you’re not held accountable for normal wear and tear.
Seek a Compromise
If disputes arise, aim for a compromise. Offer a reasonable solution that acknowledges both parties’ concerns.
Sometimes, paying for minor damages can be more cost-effective than a prolonged dispute.
How to Handle Disputes Over Security Deposits

Review Your Lease Agreement
Your lease is the first place to look for clarification on security deposit terms. It should outline the conditions for deductions and the process for disputing claims.
Write a Formal Letter
If you disagree with charges, write a formal letter to your landlord. Outline each disputed charge, provide your evidence, and request a specific resolution by a reasonable deadline.
Use Mediation Services
Consider using a third-party mediation service if you and your landlord cannot reach an agreement. Mediators can help both parties find a fair compromise without going to court.
Small Claims Court
As a last resort, small claims court can resolve disputes over security deposits. This step should be taken only when all other avenues have been exhausted, as it can be time-consuming and stressful.
The Legal Timeline for Security Deposit Returns
Know the Deadline
Landlords are typically required by law to return your security deposit within a specific timeframe, often 30 to 60 days after you move out.
Familiarize yourself with your state’s laws to know the exact timeline.
Itemized Deductions
If deductions were made, your landlord should provide an itemized list of charges. This list must detail the reasons for each deduction, allowing you to review them for accuracy.
Promptly Address Any Delays
If the deadline passes without receiving your deposit or a list of deductions, contact your landlord. A reminder may be all that’s needed, but be prepared to escalate the issue if necessary.
FAQs: Maximizing Your Security Deposit Return
How can I ensure I get my full security deposit back?
Start by thoroughly cleaning the property, making all necessary repairs, and documenting the property’s condition before and after your tenancy. Understand your rights and responsibilities, and communicate openly with your landlord.
What if my landlord claims damages that were present when I moved in?
This is where your move-in documentation becomes invaluable. Present your before photos or video to dispute the claim, showing the damages were pre-existing.
Can my landlord charge me for cleaning?
While landlords can deduct for cleaning if the property is left in a worse condition than at move-in, they cannot charge for normal wear and tear. Your before-and-after documentation will help prove the property’s condition.
What should I do if I don’t agree with the deductions made?
Communicate your concerns in writing, providing evidence to dispute the deductions. If necessary, seek mediation or consider small claims court for resolution.
Final Thoughts
Getting your full security deposit back is largely within your control.
By understanding what a security deposit is, preparing for the move-out inspection, deep cleaning, repairing damages, documenting everything, negotiating wear and tear, and knowing how to handle disputes, you’re well on your way to securing its return.
Remember, the key to success lies in preparation, documentation, and clear communication.
With this comprehensive guide, you’re equipped to leave your rental in tip-top shape and ensure your security deposit is fully returned, paving the way for your next adventure with financial confidence.