Like watching a house of cards collapse from one misplaced piece, your laminate flooring investment can crumble due to seemingly minor installation mistakes.
You’ve probably spent thousands on your new floors, hoping they’ll enhance your home’s appeal and market value.
But what you don’t know about proper installation and maintenance could be quietly sabotaging your investment.
From the critical acclimation period that many homeowners skip to the common steam-mopping mistake that’s destroying floors across America, these thirteen preventable errors aren’t just cosmetic concerns—they’re potentially slashing your property value right under your feet.
Skipping Floor Acclimation
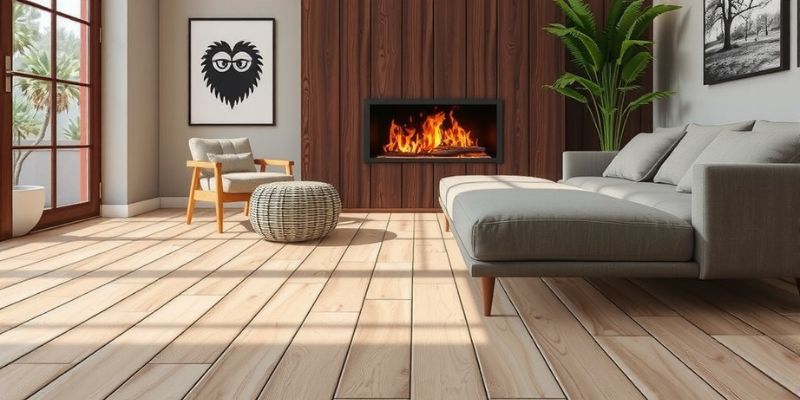
One of the most costly mistakes when installing laminate flooring is rushing in without proper acclimation.
When you skip this vital 48-72 hour period, you’re setting yourself up for warping, buckling, and gaps that’ll appear weeks or months later.
Your flooring needs time to adjust to your home’s temperature and humidity levels.
To properly acclimate your laminate, lay the unopened boxes flat in the installation room, keeping them away from exterior walls and direct sunlight.
You’ll want to maintain room temperature between 65-85°F and relative humidity between 45-65%.
Don’t stack boxes more than six high, and make sure air can circulate around them.
Poor Subfloor Preparation
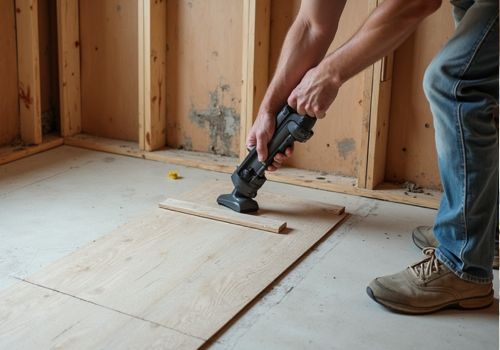
While proper acclimation prevents future problems, a solid foundation starts with thorough subfloor preparation.
You’ll need to inspect your subfloor for structural integrity, ensuring it’s free from rot, water damage, or loose boards.
If you’re working with a concrete subfloor, test for moisture content using a calcium chloride test – readings shouldn’t exceed 3 pounds per 1,000 square feet.
Remove any debris, nails, or staples, and vacuum thoroughly.
Check for uneven spots using a 6-foot level – variations shouldn’t exceed 3/16 inch over 10 feet.
You’ll need to sand high spots and fill low areas with a self-leveling compound.
Don’t skip installing a vapor barrier, which prevents moisture migration that can lead to warping and delamination.
Ignoring Expansion Gaps
Leaving proper expansion gaps stands as one of the most critical yet commonly overlooked aspects of laminate flooring installation.
Your laminate planks will expand and contract with temperature and humidity changes, and without proper gaps around the perimeter, you’ll face buckling, warping, or complete floor failure.
You’ll need to maintain a consistent 1/4 to 3/8 inch gap between your flooring and all vertical surfaces, including walls, doorframes, and pipes.
Don’t make the rookie mistake of thinking you can hide the lack of expansion gaps behind baseboards – it won’t work.
The floor needs room to move freely.
To maintain these gaps during installation, use spacers consistently.
You can cover the gaps later with quarter round or baseboards, but you can’t fix a buckled floor without complete replacement.
Random Installation Patterns
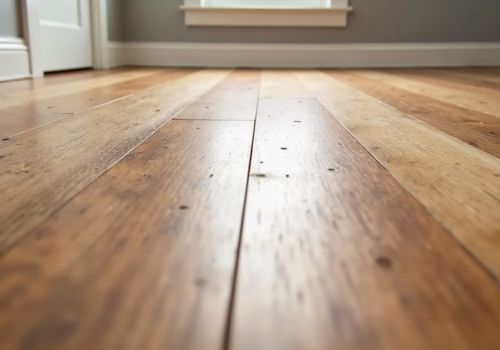
With laminate flooring, a random staggering pattern isn’t truly random at all.
You’ll need to follow a precise H-pattern that maintains at least 6-inch end-joint stagger between adjacent rows.
Avoid the common mistake of creating stair-step or zippered patterns, which not only look unprofessional but also compromise your floor’s structural integrity.
To achieve the correct pattern, start your first row with a full board, then begin the second row with a board cut to 2/3 length.
For your third row, use a board cut to 1/3 length.
This creates a proper three-row step pattern that you’ll repeat throughout the installation.
Don’t use offcut pieces shorter than 6 inches, as they’ll weaken the overall installation and likely separate over time.
Using Steam Mops
Steam mops can wreak havoc on your laminate flooring by forcing moisture between the boards through high-pressure steam.
When water seeps into the joints and core material, it causes swelling, delamination, and warping that’s irreversible.
Even if your laminate claims to be water-resistant, it’s not designed to handle concentrated steam exposure.
Instead of steam mops, opt for a microfiber mop with a manufacturer-approved laminate floor cleaner.
You’ll want to use a barely damp cleaning method, ensuring there’s no standing water at any time.
If you’re dealing with tough stains, spot-clean with a cloth and specialized laminate cleaner.
Remember, your laminate’s wear layer protects against normal foot traffic, but it can’t defend against steam’s concentrated moisture and heat.
Protecting your investment means choosing the right cleaning tools.
Wrong Underlayment Choice

Choosing the wrong underlayment can compromise your entire laminate flooring installation from day one.
Without proper moisture barrier properties, you’ll risk warping, buckling, and mold growth beneath your floors.
You need a vapor barrier with a minimum of 6 mil thickness for concrete subfloors and a quality foam underlayment for wood subfloors.
Don’t cut corners by using basic foam padding or skipping the moisture barrier altogether.
Your underlayment must match your subfloor type and local climate conditions.
For basements and high-humidity areas, invest in a combination underlayment with both moisture protection and sound dampening properties.
Check your laminate manufacturer’s specifications – using non-approved underlayment materials can void your warranty and lead to premature floor failure.
Improper Door Jamb Cuts
Door jamb cutting ranks among the most overlooked aspects of laminate flooring installation.
When you don’t undercut door jambs properly, you’ll end up with unsightly gaps or forced fits that can damage your flooring’s locking system and lead to premature wear.
To achieve professional results, you’ll need an undercut saw or jamb saw set to the exact height of your flooring plus underlayment (typically 1/8 inch clearance).
Don’t eyeball this measurement – use an actual piece of flooring as your guide.
Place it next to the jamb with the underlayment underneath to mark your cutting height.
Remember to remove all debris after cutting and verify your flooring slides smoothly under the jamb.
This attention to detail prevents binding and allows for proper expansion gaps while maintaining a seamless appearance.
Missing Vapor Barriers
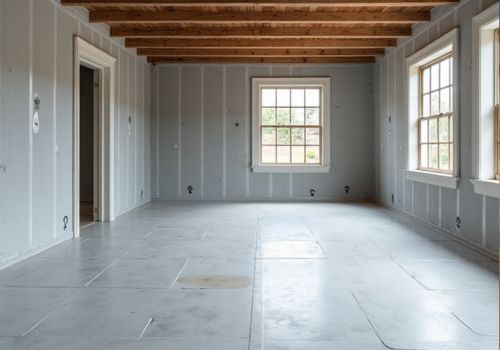
Without a proper vapor barrier, moisture from your subfloor can wreak havoc on laminate planks, leading to warping, swelling, and eventual failure of the entire floor system.
This vital underlayment prevents ground moisture from penetrating your flooring while also providing essential sound dampening.
Don’t try to save money by skipping the vapor barrier or using inferior materials.
Install a minimum 6-mil polyethylene sheeting with proper overlap at the seams, ensuring complete coverage of your subfloor.
For concrete substrates, you’ll need a higher-grade vapor barrier rated for alkalinity protection.
Make sure to run the barrier 2-3 inches up the walls, creating a seamless moisture-proof basin.
When installing over plywood, verify that the barrier’s permeability rating matches your manufacturer’s specifications to maintain warranty coverage.
Uneven Plank Spacing
Maintaining proper spacing between laminate planks is just as important as installing the right underlayment.
When planks aren’t properly spaced, you’ll notice unsightly gaps or buckling that can worsen over time.
The industry standard calls for a 1/4 to 3/8-inch expansion gap around the perimeter and a snug fit between planks.
To fix uneven spacing, you’ll need to remove your baseboards and assess the situation.
If you’re seeing gaps between planks, you can use a tapping block and mallet to gently close them.
For buckling issues, you’ll need to trim the planks to create proper expansion space.
Don’t forget to check your room’s temperature and humidity levels – they’re often the culprits behind spacing problems.
Maintaining consistent climate conditions will prevent future spacing issues.
Wet Mopping Laminate Floors
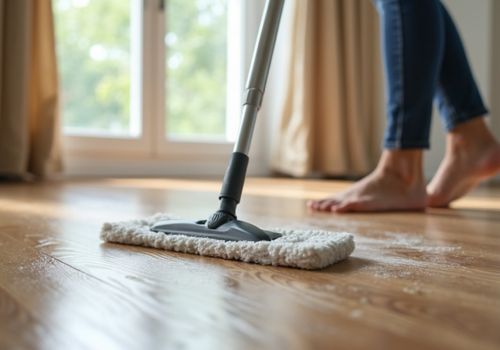
Despite their durable appearance, laminate floors can suffer severe damage from excessive moisture exposure during cleaning.
When you wet mop laminate flooring, water seeps into the seams between planks, causing the fiberboard core to swell and deteriorate.
This moisture intrusion leads to warping, edge lifting, and delamination of your floor’s protective layers.
Instead of wet mopping, opt for a slightly damp microfiber mop or specialized laminate floor cleaning system.
You’ll want to use a pH-neutral cleaning solution specifically formulated for laminate surfaces.
Don’t let liquid pool on your floor – wipe spills immediately and never use steam cleaners.
If you’re dealing with stubborn dirt, try spot cleaning with a barely moist cloth, then dry the area thoroughly.
These methods protect your floor’s wear layer while maintaining its appearance and structural integrity.
DIY Without Proper Tools
Many DIY installers rush into laminate flooring projects without essential installation tools, setting themselves up for costly mistakes and subpar results.
You’ll need a quality installation kit that includes spacers, tapping block, and pull bar to guarantee proper expansion gaps and tight seams.
Don’t try to substitute these with makeshift tools – they’ll damage your flooring’s locking system.
Your toolkit should also include a moisture meter to test subfloor conditions, a quality undercut saw for door jambs, and a power saw with fine-tooth blade for precise cuts.
Skipping level-checking tools like a laser level or long straightedge can result in visible dips and peaks.
Mixing Different Laminate Batches
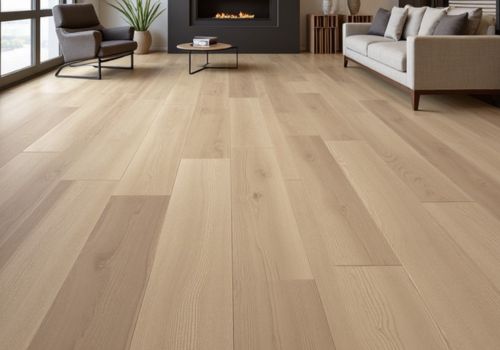
Careful batch management stands at the core of professional laminate installation.
When you’re mixing planks from different production batches, you’ll notice subtle variations in color, sheen, and pattern that become glaringly obvious once installed.
These differences occur because laminates are manufactured in runs, and each batch may have slight variations in dye lots and surface treatments.
To prevent a patchwork appearance, check the batch numbers on all your boxes before starting.
You’ll want to calculate the total square footage needed and order extra material from the same production run.
If you must use multiple batches, blend them strategically throughout the room rather than installing them in separate sections.
Don’t forget to open several boxes simultaneously and randomly select planks to create a natural-looking distribution of any slight color variations.
Neglecting Transitions Between Rooms
Professional laminate installations require proper room-to-room connections, yet installers often overlook this key detail.
You’ll need connector strips between rooms to accommodate different floor heights, expansion gaps, and natural movement of the material.
T-moldings, reducers, and end bars aren’t just decorative elements—they’re essential components that prevent edge damage and flooring failure.
Don’t skip these critical connector pieces, especially where laminate meets different flooring types or at doorways.
You’ll want to install appropriate connector profiles based on height differences: use reducers for carpet connectors, T-moldings for same-height floors, and end bars for sliding doors.
Make sure to leave the manufacturer-recommended expansion gap beneath the connector strip, typically 3/8 inch, to allow for seasonal movement and prevent buckling or separation.
FAQs
Can Laminate Flooring Be Installed Over Existing Tile or Hardwood Floors?
You can install laminate over existing tile or hardwood if the surface is level, stable, and moisture-free. However, you’ll need to check subfloor height clearance and consider using a quality underlayment for proper installation.
How Long Does Laminate Flooring Typically Last Before Needing Replacement?
You’ll get 15-25 years from quality laminate flooring with proper maintenance. Your floor’s lifespan depends on factors like wear layer thickness, traffic patterns, and how well you protect it from moisture and UV exposure.
What’s the Best Way to Repair Scratches on Laminate Flooring?
You can repair minor laminate scratches using a color-matched repair kit, wax stick, or putty filler. For deeper gouges, you’ll need to apply wood filler and touch-up markers in matching tones.
Is Laminate Flooring Suitable for Bathrooms and Laundry Rooms?
You shouldn’t install standard laminate in bathrooms or laundry rooms. Water can seep through seams, causing swelling and delamination. Instead, choose waterproof vinyl plank or specialized water-resistant laminate designed for wet environments.
Can Sunlight Exposure Cause Laminate Flooring to Fade Over Time?
Studies show laminate flooring can fade up to 35% within 5 years of direct sunlight exposure. You’ll want to protect your floors with UV-resistant window films, strategic furniture placement, or quality window treatments to preserve their appearance.
Final Thoughts
Don’t let these laminate flooring pitfalls chip away at your home’s market value like termites in timber.
You’ll safeguard your investment by mastering proper acclimation protocols, maintaining precise expansion gaps, and selecting compatible underlayment systems.
Remember, professional-grade installation techniques aren’t just best practices—they’re your floor’s lifeline.
When you honor these technical specifications, you’re not just installing flooring; you’re engineering lasting value into every square foot.