19 Ways You’re Permanently Damaging Your Wood Floors (Stop #12 ASAP!)
Like a precious antique slowly deteriorating in harsh sunlight, your hardwood floors may be suffering from damage you didn’t even know you’re causing.
You’ve invested thousands in these beautiful surfaces that define your home’s character, yet common daily habits could be destroying them right under your feet.
Whether you’re dragging heavy furniture across the room or relying on that steam mop you thought was helping, you’re likely making mistakes that’ll cost you dearly in the long run.
Before you continue with your usual cleaning and maintenance routine, you’ll want to discover which of these 19 destructive habits you need to break immediately.
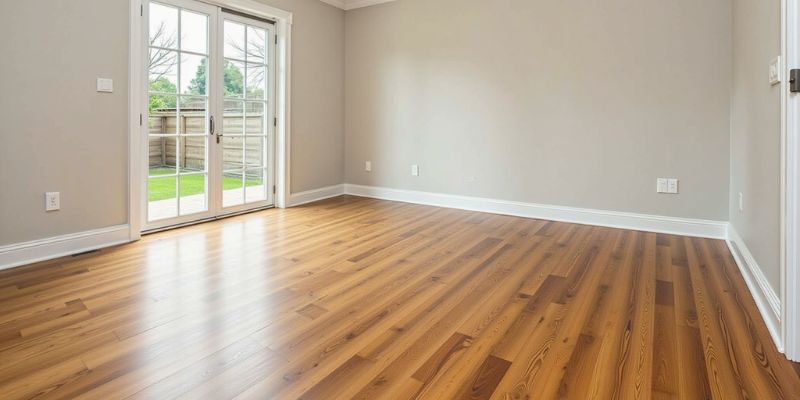
Dragging Heavy Furniture
Moving heavy furniture directly across wood floors can wreak havoc on your flooring’s finish and potentially cause deep scratches, dents, or gouges in the wood itself.
When you’re rearranging your space, don’t risk damaging your investment by dragging chairs, tables, or heavy pieces across the surface.
Instead, lift furniture completely off the floor whenever possible, or use furniture sliders designed specifically for hardwood surfaces.
You’ll find various slider options, including felt pads, rubber coasters, or plastic discs that reduce friction.
For extremely heavy pieces, consider using a dolly or furniture moving kit that distributes weight evenly.
If you can’t lift an item, place a thick blanket or moving mat underneath to create a protective barrier between the furniture and your floors.
Neglecting Regular Dust Mopping
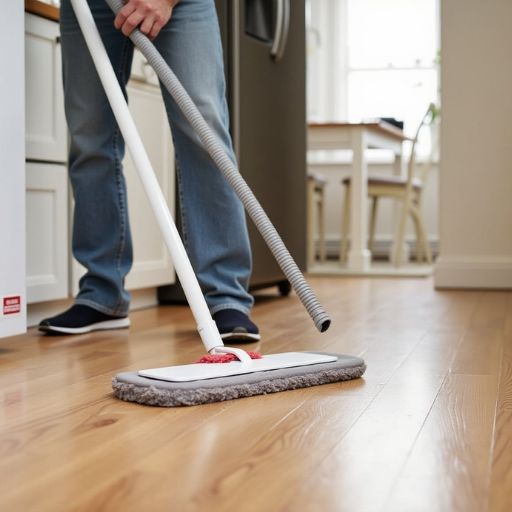
Dust and debris might seem harmless on your hardwood floors, but they act like sandpaper under foot traffic, gradually wearing away your floor’s protective finish.
Every step you take grinds these particles deeper into the wood’s surface, creating micro-scratches that accumulate over time.
To prevent this progressive damage, you’ll need to dust mop your floors at least three times per week, especially in high-traffic areas.
Don’t skip the corners, baseboards, or areas under furniture where dust tends to collect.
Use a microfiber dust mop rather than traditional string mops or brooms, as it’s more effective at trapping fine particles.
When you notice the dust mop head becoming dirty, don’t continue using it – you’ll just redistribute the debris.
Instead, wash or replace it regularly.
Using Steam Mops
Although steam mops have gained popularity as a cleaning solution, they can cause severe and irreversible damage to your hardwood floors.
The intense heat and moisture from steam mops penetrate the wood’s protective finish and seep into the fibers, causing the boards to swell, warp, and eventually crack.
Even if your floors are sealed, steam cleaning forces water vapor into the microscopic gaps between boards and through tiny imperfections in the finish.
Over time, this trapped moisture leads to structural deterioration, discoloration, and can even promote mold growth beneath the surface.
You’ll void most manufacturers’ warranties by using steam mops, leaving you responsible for costly repairs.
Instead, stick to traditional cleaning methods like dry dust mopping and approved hardwood floor cleaners that won’t compromise your floor’s integrity or your investment.
Ignoring Pet Nail Maintenance

Regularly neglecting your pet’s nail maintenance can inflict serious damage to your hardwood floors‘ protective finish.
As your pet moves across the floor, their untrimmed nails act like tiny chisels, creating microscopic scratches that accumulate over time and compromise the floor’s protective coating.
You’ll need to trim your pet’s nails every 2-3 weeks to maintain an ideal length.
If you’re hearing clicking sounds when your pet walks on the floor, their nails are already too long.
Consider using nail grinders instead of clippers for more precise control and smoother edges.
For extra protection, you can apply specialized nail caps to your pet’s claws or place strategically positioned area rugs in high-traffic zones.
Walking in High Heels
High heels can be just as damaging to wood floors as untrimmed pet nails.
When you walk in stilettos, you’re concentrating your entire body weight onto a tiny surface area – sometimes as small as 1/4 inch in diameter.
This intense pressure can create permanent dents and divots in your hardwood flooring, especially in softer wood species like pine or cedar.
You don’t have to give up your favorite shoes to protect your floors.
Instead, keep a pair of flats near your entryway for indoor wear.
If you must wear heels indoors, opt for wider heels that distribute weight more evenly, or install heel protectors – small plastic caps that fit over stiletto tips.
For professional events at home, consider temporary floor protection like roll-out mats in high-traffic areas.
Leaving Spills Untreated

Spills pose an immediate threat to your hardwood floors’ integrity and must be addressed promptly.
When liquids penetrate the wood’s surface, they can cause warping, staining, and structural damage that’s often irreversible.
You’ll need to act within minutes to prevent lasting harm.
Don’t let water, wine, coffee, or pet accidents sit on your floors.
These liquids will seep into the wood grain, compromising the floor’s protective finish and causing the boards to swell.
Instead, immediately blot up spills with a clean, dry cloth or paper towel.
Avoid wiping or spreading the liquid, as this only increases the affected area.
For stubborn spills, use a slightly damp cloth followed by a dry one.
You’re free to use specialized wood cleaners, but always test them in an inconspicuous area first.
Overwaxing Wood Surfaces
While protecting wood floors from spills is important, excessive waxing can be just as damaging to your hardwood surfaces.
Overwaxing creates a thick, sticky buildup that attracts dirt and makes your floors look dull and grimy.
You’ll find it increasingly difficult to maintain proper traction, leading to dangerous slip hazards.
When you apply too many layers of wax, you’re trapping moisture between the coats, which can seep into the wood and cause warping or rotting.
If you’ve overwaxed, you’ll need to strip the entire floor using harsh chemicals – a time-consuming and expensive process.
Instead, stick to waxing just once or twice a year, using thin, even coats.
You’ll maintain the wood’s natural beauty while ensuring proper protection without the risks of overwaxing.
Skipping Floor Mats
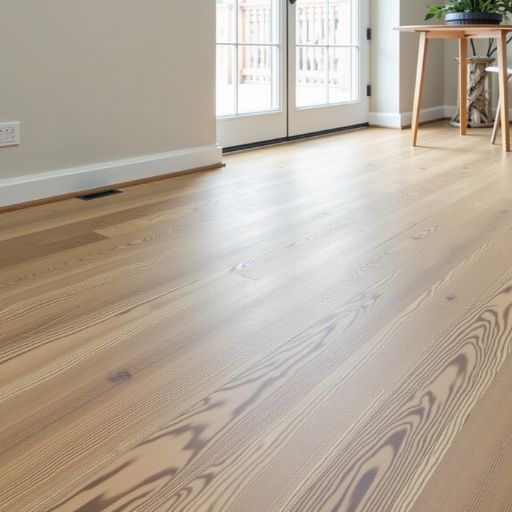
Neglecting to place protective floor mats at entryways and high-traffic areas can accelerate wear on your hardwood floors.
Dirt, sand, and debris act like sandpaper when tracked across wood surfaces, gradually eroding the finish and creating micro-scratches that dull your floors’ appearance.
You’ll want to position heavy-duty mats outside each entrance to trap coarse particles, while placing softer, absorbent mats inside to catch moisture and finer debris.
Don’t forget to add protective pads under furniture legs and consider runners in high-traffic paths like hallways.
If you’ve got rolling chairs, invest in chair mats designed specifically for hardwood.
Without these protective barriers, you’re fundamentally inviting abrasive elements to damage your floor’s finish, potentially leading to costly refinishing or replacement down the line.
Using Harsh Chemical Cleaners
Harsh chemical cleaners can eat away at your wood floor’s protective finish and penetrate the underlying wood fibers.
Products containing ammonia, bleach, or abrasive ingredients will gradually deteriorate your floor’s seal, leaving the raw wood vulnerable to moisture damage and staining.
Instead of using these aggressive cleaners, opt for pH-neutral solutions specifically formulated for hardwood floors.
You’ll want to avoid any product that promises to “deep clean” or “strip” your floors, as these typically contain harsh solvents that’ll break down the protective polyurethane coating.
If you’re dealing with stubborn stains, don’t reach for all-purpose cleaners or vinegar-based solutions – they’re too acidic for wood surfaces.
A microfiber mop dampened with a manufacturer-approved hardwood cleaner will effectively remove dirt while preserving your floor’s integrity.
Sunlight Exposure Without Protection

Prolonged sunlight exposure can cause significant damage to your wood floors through a process called photodegradation.
UV rays break down lignin, the natural compound that holds wood fibers together, leading to discoloration, fading, and structural weakening.
You’ll notice this damage first in areas where sunlight consistently hits your floors through windows and glass doors.
To preserve your floor’s integrity, you’ve got several protective options at your disposal.
Install UV-blocking window films or solar shades, which can reduce harmful rays by up to 99%.
Alternatively, use strategic furniture placement and rotate area rugs every few months to guarantee even aging.
If you’re building or renovating, consider low-E windows that naturally filter UV radiation.
Don’t wait until you notice sun damage – by then, you’ll need costly refinishing or replacement to restore your floors.
Wet Mopping Too Often
Even when using the right cleaning products, excessive wet mopping can wreak havoc on your wood floors.
Water seeps into the joints between boards and beneath the surface, causing the wood to expand, cup, and warp.
Over time, this moisture penetration can lead to permanent structural damage and unsightly gaps between planks.
You’ll want to limit wet mopping to once every few months, using a damp (not soaking wet) mop.
Instead, opt for dry cleaning methods like dust mopping, sweeping, or vacuuming for routine maintenance.
When you must wet clean, work in small sections and immediately dry the floor with a microfiber cloth.
Don’t let standing water remain on your wood floors for more than a few seconds.
Installing Indoor Plants Directly
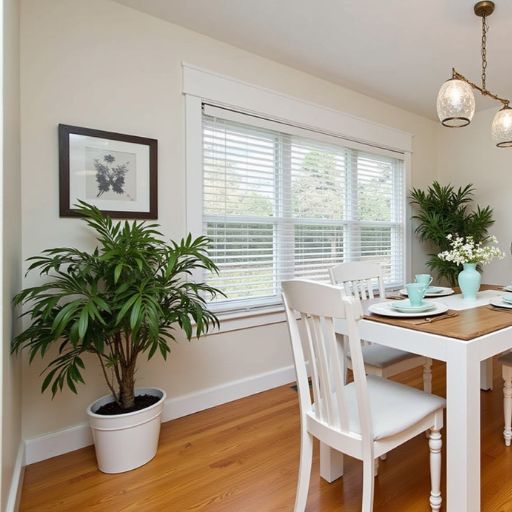
Placing potted plants directly on wood floors creates significant moisture-related risks to your flooring’s integrity.
When you position containers without proper barriers, water can seep from drainage holes and condensation can accumulate underneath, leading to wood rot, warping, and discoloration.
Even small amounts of trapped moisture can penetrate the wood’s protective finish over time.
You’ll need to elevate your plants using moisture-resistant plant stands, decorative trivets, or specialized plant platforms.
These barriers should include ventilation space to prevent condensation buildup.
If you’ve already noticed water rings or dark spots, you’re facing potential structural damage that requires immediate attention.
Don’t wait until you spot mold or mildew – these indicate advanced deterioration.
Instead, implement protective measures now to maintain both your flooring investment and your freedom to display indoor plants wherever you choose.
Wrong Vacuum Cleaner Settings
Using the wrong vacuum cleaner settings on your hardwood floors can inflict lasting damage through aggressive brush rollers and excessive suction power.
Standard vacuum cleaners with beater bars can scratch and dull your floor’s finish, while high suction settings might pull up edges of wood planks or damage existing weak spots.
To protect your investment, switch your vacuum to the “bare floor” or “hard surface” setting, which typically disables the rotating brush.
If your vacuum doesn’t have adjustable settings, consider investing in a model specifically designed for hardwood floors.
You’ll want features like rubber wheels, adjustable height controls, and soft-bristled attachments.
Remember to regularly inspect your vacuum’s wheels and attachments for embedded debris that could scratch your floors.
When in doubt, opt for a canister vacuum with a specialized hardwood floor head.
Inconsistent Humidity Levels
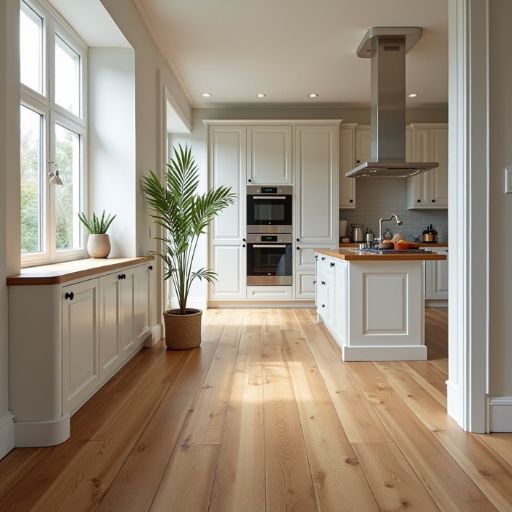
When humidity levels fluctuate dramatically in your home, wood floors can undergo significant dimensional changes through expansion and contraction.
These variations cause the wood to swell during high humidity and shrink when moisture levels drop, leading to gaps, cupping, or crowning of your floorboards.
You’ll want to maintain indoor relative humidity between 35-55% year-round to prevent damage.
Install a whole-house humidifier for winter months when heating systems dry out the air, and use dehumidifiers during humid summers.
Don’t rely on portable units – they won’t provide consistent coverage throughout your space.
Monitor humidity levels using multiple hygrometers placed strategically around your home.
If you’re noticing seasonal changes in your floor’s appearance, you’re already experiencing moisture-related stress that could permanently compromise your flooring’s structural integrity.
Placing Rugs on Wet Floors
One major mistake homeowners make is laying area rugs directly on wet or damp wood floors.
When you place rugs on moisture-laden wood, you’re fundamentally trapping that wetness between the rug’s backing and your flooring.
This creates a perfect environment for mold and mildew growth, which can lead to permanent wood discoloration and decay.
The trapped moisture can’t evaporate naturally, causing the wood to warp, cup, or crown over time.
You’ll notice dark stains forming beneath the rug, and the wood’s finish may begin to deteriorate.
If you’ve recently mopped or cleaned your floors, wait until they’re completely dry – typically 24 to 48 hours – before replacing any rugs.
Don’t forget to check the underside of rugs periodically for signs of moisture buildup or discoloration.
Using Vinegar Solutions
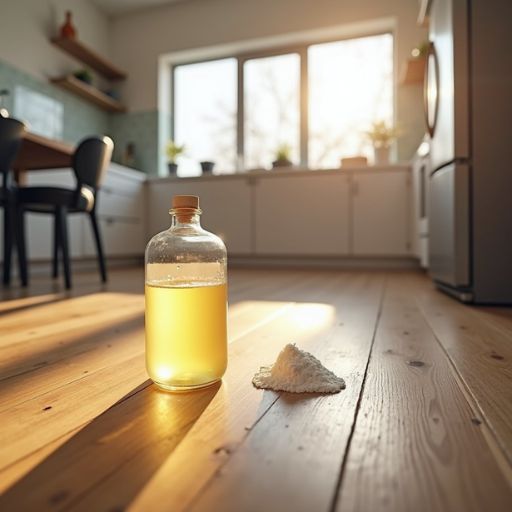
While salt residue requires specialized cleaners, vinegar solutions aren’t the answer for protecting wood floors.
The acetic acid in vinegar, even when diluted, gradually breaks down your floor’s protective finish and can penetrate deep into the wood fibers.
You’ll notice dulling, discoloration, and eventual warping if you persist with vinegar-based cleaning methods.
Don’t fall for the DIY cleaning trends that promote vinegar as a natural alternative.
Your wood floors need a pH-neutral cleaner specifically formulated for hardwood.
The acidic nature of vinegar (typically 2.4 pH) disrupts the wood’s natural chemistry and can even void your floor’s warranty.
Instead, invest in manufacturer-approved cleaning solutions that’ll maintain your floor’s integrity without compromising its protective polyurethane coating or natural oils.
Ice Melt Salt Residue
Ice melt salt products pose a significant threat to wood flooring during winter months.
When you track these de-icing compounds inside on your shoes, they’ll leave behind a corrosive residue that can eat through your floor’s protective finish and penetrate the wood beneath.
The salt crystals act as abrasives, scratching and dulling the surface with each step.
To protect your investment, you’ll need to take immediate action when salt residue appears.
Remove your shoes at the door, and place absorbent mats both outside and inside entryways.
If salt makes it past your defenses, clean it promptly with a slightly damp microfiber mop using a specialized wood floor cleaner designed to neutralize salt compounds.
Don’t let salt residue linger – it’ll continue damaging your floors until you remove it completely.
Furniture Without Protective Pads
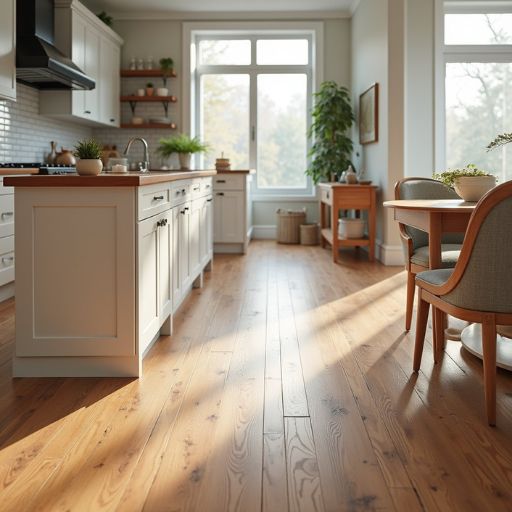
Raw furniture legs dragging across hardwood floors can cause devastating scratches, gouges, and indentations that permanently damage your floor’s surface.
The constant weight and movement of unprotected furniture feet create friction points that wear through your floor’s protective finish and expose bare wood underneath.
You’ll need to install protective pads on all furniture legs immediately to prevent this damage.
Choose felt pads for lighter pieces and rubber or plastic pads for heavier items.
Don’t rely on stick-on pads alone – they’ll eventually fall off. Instead, opt for nail-in or screw-in protectors for permanent pieces.
Replace worn pads every 6-12 months, depending on use.
For furniture that moves frequently, like dining chairs, consider using double-layered protection: a felt pad backed by a plastic slider to minimize friction and maximize floor protection.
Improper Cleaning Tools
Beyond safeguarding your floors from furniture damage, using the wrong cleaning tools can rapidly deteriorate your hardwood’s finish.
Steel wool, abrasive scrubbers, and rough-bristled brooms create micro-scratches that accumulate over time, leaving your floors looking dull and worn.
You’ll want to ditch that traditional string mop, too.
It deposits excess water between boards, leading to warping and cupping. Instead, opt for a microfiber mop or pad that’s barely damp.
Vacuum cleaners with beater bars can scratch your floors, so use one designed specifically for hardwood with soft brush attachments.
If you’re dealing with stubborn dirt, don’t reach for a steam mop – the intense heat and moisture can penetrate the wood, causing long-term structural damage and finish separation.
FAQs
How Long Does Hardwood Flooring Typically Last Before Requiring Replacement?
Your hardwood floors can last 20-100 years depending on wood species, installation quality, and maintenance. You’ll maximize longevity by choosing durable species like oak or maple and following proper care protocols.
Can Wood Floors Be Refinished if They Have Water Damage Stains?
Like bringing faded colors back to life, you can refinish water-damaged wood floors. You’ll need to sand past the stained layer, apply wood bleach if needed, then complete standard refinishing steps with stain and sealant.
What Temperature Should I Maintain to Protect My Wood Floors?
You’ll want to maintain your indoor temperature between 60-80°F (15-27°C) and keep relative humidity at 35-55%. These conditions prevent your wood floors from expanding, contracting, cupping, or developing unsightly gaps.
Are Some Wood Species More Resistant to Scratches Than Others?
You’ll find Brazilian Walnut and Hickory standing strong while Pine and Cedar easily scratch. Oak and Maple offer middle-ground durability. Choose harder woods with higher Janka ratings for more scratch-resistant flooring solutions.
How Often Should Professional Wood Floor Maintenance Be Scheduled?
You’ll want to schedule professional maintenance every 3-5 years for sanding and refinishing, though high-traffic areas might need attention every 2-3 years. Regular screening and recoating can extend intervals between major services.
Final Thoughts
Your wood floors are like a delicate timepiece – requiring precise care and consistent maintenance to preserve their beauty.
By eliminating these destructive habits, you’ll extend your flooring’s lifespan considerably.
Install furniture pads, maintain proper humidity levels (35-55%), and implement a regular dust-mopping schedule.
When you adopt these technically sound practices, you’re safeguarding your investment against premature wear, warping, and microscopic surface damage.