17 Ways Your Dirty Cricut Mat Is Ruining Your Projects (Fix #8 Before Your Next Cut!)
You’ve probably noticed your Cricut projects aren’t turning out quite as perfect as they used to, but you might not realize your dirty mat is the hidden culprit.
Those seemingly minor specks of paper, fabric fibers, and adhesive buildup aren’t just unsightly—they’re actively sabotaging your crafting success in ways you haven’t considered.
From wasting expensive materials to potentially damaging your machine’s blade, a grimy mat creates a domino effect of craft-ruining consequences.
Before you start your next project, you’ll want to discover these 17 surprising ways your dirty mat is compromising your work, especially number eight, which could be costing you hundreds in wasted materials.
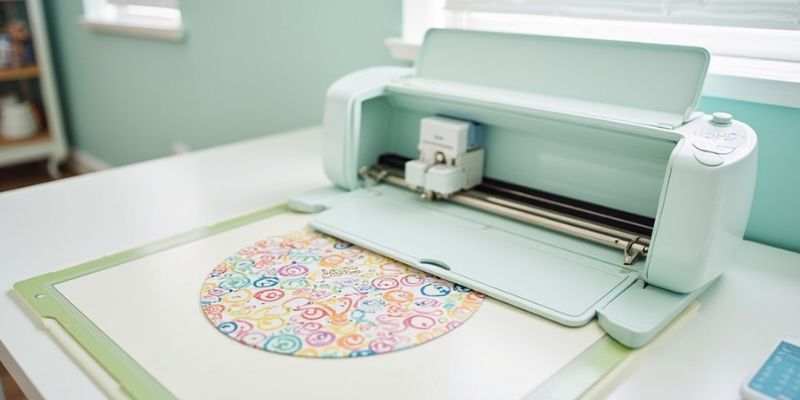
Inconsistent Material Grip
Many Cricut users struggle with mats that don’t grip materials consistently across their surface, leading to shifting during cuts and ruined projects.
The problem intensifies when adhesive builds up unevenly or becomes contaminated with dust, paper fibers, and debris.
You’ll notice certain areas becoming too sticky while others lose their grip entirely.
When your mat’s grip becomes inconsistent, you’ll face issues like uneven cutting depths, material tearing, and pattern misalignments.
These problems are particularly frustrating when working with intricate designs or expensive materials.
To maintain uniform adhesion, you need to clean your mat regularly with warm water and mild soap, removing all residue.
Don’t neglect the edges and corners, as these areas often collect the most debris.
After cleaning, let your mat air dry completely before use to guarantee ideal stickiness across the entire surface.
Wasted Expensive Crafting Materials
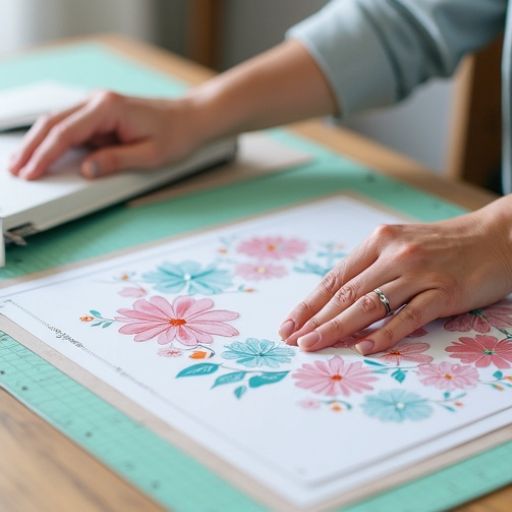
A neglected Cricut mat can quickly lead to wasted materials and costly mistakes.
When your mat loses its proper adhesion, you’ll find yourself repeatedly cutting the same designs because they shift or tear during the cutting process.
Premium vinyl, specialty papers, and delicate materials aren’t cheap, and you’re throwing money away each time a project fails due to a dirty mat.
You’ll notice the waste most prominently when working with intricate designs or expensive materials like metallic vinyl, glitter cardstock, or leather.
The issue becomes even more frustrating when you’re cutting multiple pieces for a large project, and each failed attempt eats into your material reserves.
Uneven Cutting Depth
Poor mat maintenance directly affects your Cricut’s cutting depth consistency, making some areas cut too deep while others barely scratch the surface.
When debris builds up on your mat’s adhesive surface, it creates an uneven foundation for your materials.
This height variation forces your blade to work at inconsistent depths, even when you’ve carefully calibrated your machine’s settings.
You’ll notice these depth issues appearing as incomplete cuts in some areas and over-cut sections that tear through your material in others.
Don’t let a dirty mat compromise your design’s precision – inconsistent cutting depths can ruin intricate details and waste expensive materials.
Blade Damage and Dulling
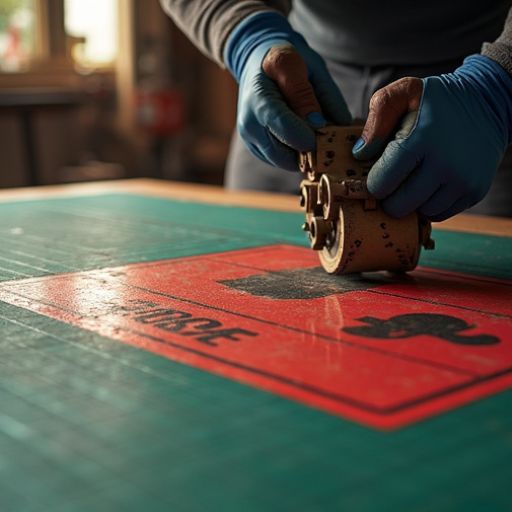
Neglected cutting mats can rapidly accelerate blade wear and dulling, costing you both time and money in replacement blades.
When debris, adhesive buildup, and material fragments collect on your mat’s surface, your blade has to work harder to cut through these obstacles, causing unnecessary strain on the cutting edge.
You’ll notice the impact of a dirty mat when your blade starts catching on accumulated debris or drags through sticky residue.
This resistance doesn’t just affect your current project – it’s permanently damaging your blade’s sharp edge.
If you’re constantly replacing blades or noticing inconsistent cuts, your mat might be the culprit.
Material Shifting During Cuts
Your Cricut mat’s adhesive strength directly impacts material stability during cutting operations.
When your mat’s tackiness diminishes, your materials can shift mid-cut, resulting in misaligned designs and wasted materials.
You’ll notice this problem especially when cutting intricate patterns or working with lightweight materials like paper and vinyl.
Don’t let a dirty mat ruin your creative freedom. If your materials start sliding during cuts, it’s a clear sign that your mat needs attention.
Material movement can cause your blade to tear through your project, create jagged edges, or miss sections entirely.
Watch for telltale signs like uneven cuts, incomplete designs, or materials that lift at the corners.
You’ll need to clean your mat immediately or risk compromising future projects and potentially damaging your machine’s blade.
Paper Tearing and Fraying
Frustration mounts when paper projects tear and fray during Cricut cutting sessions.
When your mat loses its tackiness, the paper won’t stay firmly in place, causing the blade to snag and tear your materials instead of making clean cuts.
You’ll notice the problem’s especially bad with delicate papers like vellum or thin cardstock.
The blade drags the material rather than slicing through it cleanly, resulting in ragged edges and torn details.
This ruins your project and wastes expensive materials.
To prevent tearing, you need ideal mat adhesion.
Clean your mat regularly, remove all debris between cuts, and consider using a brayer to guarantee your paper’s firmly pressed down.
If you’re working with intricate designs, don’t wait until your mat’s completely lost its stick – replace it when you start seeing signs of paper lifting.
Inaccurate Registration Marks
A mat’s sticky surface isn’t the only factor affecting cut precision – registration marks can make or break your print-then-cut projects.
When your mat accumulates paper fibers, adhesive residue, and dust, your machine’s sensor struggles to detect these vital alignment markers accurately.
The result? Your cuts won’t align properly with your printed designs.
You’ll notice this issue especially when working with stickers, iron-on designs, or layered projects where precise alignment is essential.
If your cuts are consistently off by even a millimeter, check your mat’s surface for debris around the registration mark areas.
These black squares need to remain crisp and clearly visible for your Cricut to read them correctly.
Clean these areas thoroughly with a lint roller or baby wipes, ensuring the sensor has a clear path to detect the marks.
Lost Mat Adhesion Spots
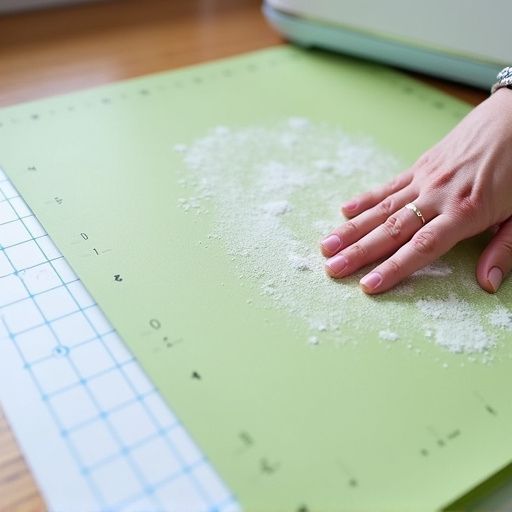
Many crafters encounter patchy adhesion spots on their Cricut mats, where certain areas lose their stickiness while others remain tacky.
These inconsistent adhesion spots can lead to material shifting during cuts, resulting in misaligned designs and wasted materials.
You’ll notice these problematic areas when your material doesn’t stick evenly across the mat’s surface.
The issue often stems from repeated use in the same spots, improper cleaning methods, or storing mats without their protective covers.
Adhesion loss is especially common in the mat’s center, where most cuts occur.
To prevent patchy adhesion, rotate your cutting positions regularly, clean your mat thoroughly after each use, and always replace the protective cover when you’re done.
If you’ve already got uneven spots, try spot-cleaning the affected areas with baby wipes or a specialized adhesive cleaner before considering a full mat replacement.
Stuck Material Residue
One common challenge Cricut users face is stubborn material residue that clings to cutting mats after project completion.
When bits of vinyl, paper, or adhesive refuse to let go, they’ll interfere with your next project’s precision and potentially damage future materials.
You’ll notice these sticky remnants most often after working with intricate designs or materials with strong adhesive backing.
They create uneven surfaces on your mat, leading to inconsistent cutting depths and poor material adhesion in affected areas.
Don’t let this residue build up – it’ll only become harder to remove over time.
If you’re dealing with stuck-on bits, use a plastic scraper tool at a 45-degree angle to gently lift the debris.
For stubborn spots, try using a craft mat cleaning solution specifically designed for Cricut mats, avoiding harsh chemicals that could damage the adhesive layer.
Misaligned Layered Designs
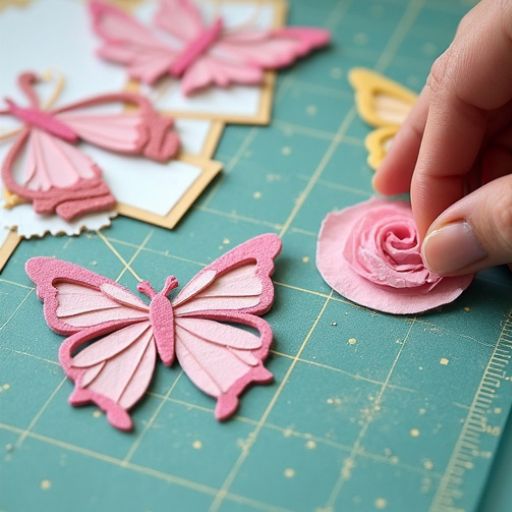
Crafters working with layered designs often encounter the frustrating challenge of misaligned cuts, where multiple material layers don’t perfectly match up during assembly.
A dirty cutting mat can greatly contribute to this problem, as material shifts and slides on sticky surfaces compromised by dust, debris, or residue buildup.
When your mat’s adhesive is uneven or contaminated, it won’t hold your material firmly in place during the cutting process.
This movement, even if minimal, leads to imprecise cuts that won’t align properly with other layers.
You’ll notice this especially in intricate designs where even a millimeter of misalignment can ruin the final look.
To maintain perfect alignment, clean your mat regularly, guarantee consistent adhesion across its surface, and replace it when the tackiness becomes unreliable or patchy.
Failed Print Then Cut
Just like misaligned layers, a dirty cutting mat can also sabotage your Print Then Cut projects.
When your mat’s surface is covered with paper fibers, adhesive residue, or debris, your Cricut machine’s sensor can’t accurately read the black registration marks that guide the cutting process.
You’ll notice the problem when your cuts don’t align with your printed designs, or worse, when your machine can’t detect the registration marks at all.
Don’t let a grimy mat waste your expensive cardstock or vinyl!
Clean your mat regularly with baby wipes or warm soapy water, and make sure it’s completely dry before use.
If you’re still experiencing issues, try increasing the brightness in your crafting area – proper lighting helps your machine’s sensor read those vital registration marks more effectively.
Warped Project Edges
When your Cricut projects start curling at the edges during cutting, you’re likely dealing with a mat that’s lost its ideal adhesion level.
This warping compromises your design’s precision and can lead to misaligned cuts, wasted materials, and frustration.
You’ll notice this problem particularly with thinner materials like paper and vinyl, which rely heavily on consistent mat adhesion throughout the cutting process.
When your mat’s grip isn’t uniform, sections of your material lift away from the surface, creating uneven cutting depths and jagged edges.
Don’t let warped edges ruin your creative flow.
Test your mat’s stickiness before each project by pressing your material firmly across the entire surface.
If you’re experiencing lifting, it’s time to either clean your mat or replace it to maintain professional-quality results.
Extended Cutting Time
Every Cricut project’s cutting time directly reflects your mat’s condition – a mat with diminished adhesion forces your machine to work harder and longer.
When your cutting mat loses its grip, your material can shift during cuts, causing your Cricut to make multiple passes to achieve clean cuts.
This not only wastes precious crafting time but also puts unnecessary strain on your machine’s components.
You’ll notice your blade struggling to penetrate materials that should cut easily, and what used to be a 5-minute project now takes 15 minutes or more.
Don’t let a dirty mat hold you back – regular cleaning and maintenance will keep your cutting times efficient.
Check your mat’s stickiness before each project, and you’ll avoid the frustration of extended cutting sessions and potential material waste.
Mat Corner Lifting
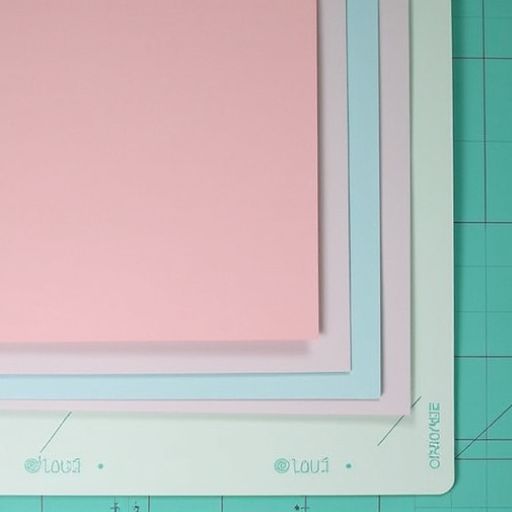
A common frustration among Cricut crafters occurs when mat corners begin lifting during cuts, creating an uneven surface that compromises project accuracy.
When your mat’s corners start curling up, you’ll notice misaligned cuts, material shifting, and potential damage to your projects.
You can prevent corner lifting by storing your mats flat, away from heat sources and direct sunlight.
Don’t stack heavy items on top of them, as this can create permanent warping.
If you’re already experiencing corner lifting, try using strong tape to secure the corners temporarily during cuts.
For a longer-term solution, place the mat under heavy books for 24-48 hours to help flatten it.
Remember to replace mats when they show persistent curling, as this indicates they’ve reached the end of their useful life.
Uneven Pressure Distribution
Through repeated use, Cricut mats can develop areas that don’t maintain consistent pressure against materials during cutting.
When your mat develops uneven spots, you’ll notice inconsistent cutting depths across your projects.
Some areas might cut too deeply while others barely scratch the surface.
You’ll spot this problem when your cuts aren’t uniform – certain sections might tear or remain partially attached while others cut perfectly.
Don’t ignore these signs, as they’ll only worsen with time.
Check your mat by running your hand across the surface, feeling for dips, bumps, or areas that feel different from the rest.
If you’re experiencing uneven pressure, it’s time to either clean your mat thoroughly to restore its grip or replace it entirely.
Continuing to use a mat with pressure issues will compromise your project’s quality.
Design Detail Loss
Beyond uneven pressure issues, your Cricut mat’s diminishing adhesive properties can lead to design detail loss.
When your material isn’t firmly secured, intricate cuts and fine details won’t transfer precisely, resulting in blurred edges, missed cuts, or distorted patterns.
You’ll notice this especially in designs with small text, delicate flourishes, or complex geometric shapes.
The problem worsens as your mat gets dirtier, creating a barrier between the adhesive and your material.
What should be crisp, clean lines become ragged and imperfect.
Don’t let a dirty mat compromise your detailed work – those tiny hearts, delicate swirls, and miniature letters deserve better.
You’ll need proper adhesion to maintain the integrity of every design element, from the boldest shapes to the finest details.
Surface Texture Transfer
Surface texture irregularities from your Cricut mat can transfer onto your materials, particularly when working with soft or impressionable mediums like vinyl, cardstock, or fabric.
If your mat’s surface has developed bumps, ridges, or embedded debris, these imperfections will press into your materials during cutting, leaving visible marks or indentations.
You’ll notice these texture transfers most prominently when working with delicate materials or creating projects that require a flawless finish.
Dark-colored vinyl and glossy cardstock are especially prone to showing these imperfections.
To prevent this issue, you’ll need to maintain a smooth, clean cutting surface.
Remove any visible debris with a lint roller, and address any raised areas by gently cleaning with warm water and mild soap.
Don’t use abrasive cleaners or scrubbers, as they’ll create micro-scratches that can transfer to your materials.
FAQs
How Often Should I Replace My Cricut Mat Completely?
You’ll need to replace your Cricut mat every 25-40 uses, depending on your cutting materials and care routine. If you notice inconsistent cuts or poor material grip, even after cleaning, it’s time for a replacement.
Can I Use Rubbing Alcohol to Clean My Cricut Mat?
Like playing with fire, using rubbing alcohol on your Cricut mat’s a risky move. You’ll strip away the adhesive coating completely. Instead, use baby wipes, soap and water, or Cricut’s official cleaning solutions.
Which Cricut Mat Type Lasts the Longest?
The StrongGrip (purple) mat offers you the longest lifespan among Cricut mats. It’s built with the most durable adhesive and sturdy base, making it ideal for heavy materials and frequent use.
Does Storing Mats Face-To-Face Affect Their Adhesive Properties?
Yes, storing your Cricut mats face-to-face will greatly damage their adhesive properties. You’ll find your mats transferring sticky residue between each other, reducing their effectiveness. Always store them separately with protective covers intact.
Can I Use Alternative Adhesive Sprays on My Cricut Mat?
Want to experiment with your mat’s stickiness? While you can use alternative adhesive sprays, stick to Cricut-approved options like Krylon or Aleene’s. Other sprays might damage your mat or leave residue affecting cuts.
Final Thoughts
Your Cricut mat is the foundation of your crafting success—like the soil that nurtures a garden.
Just as weeds choke out healthy plants, debris and adhesive buildup will strangle your creative potential.
Don’t let a dirty mat be the dark cloud that ruins your crafting sunshine.
You’ve now got the knowledge to maintain this critical tool properly.
Take action today, and you’ll see your projects bloom with precision and professional quality.