17 Dishwasher Secrets That Will Double Its Lifespan (Repairman’s Tip #9 Saved Me $800!)
Your dishwasher might be on the brink of an expensive breakdown without you even knowing it.
As a seasoned appliance repair professional, I’ve witnessed countless homeowners unknowingly sabotage their machines with simple, avoidable mistakes.
While most people focus on loading dishes and adding detergent, they’re missing vital maintenance steps that could double their dishwasher’s lifespan and save them hundreds in repair costs.
The secrets I’m about to share have helped my clients avoid major breakdowns, including one simple trick that saved a customer $800 in unnecessary repairs.
Let’s start with the most overlooked aspect of dishwasher care.
Load Dishes Like a Pro
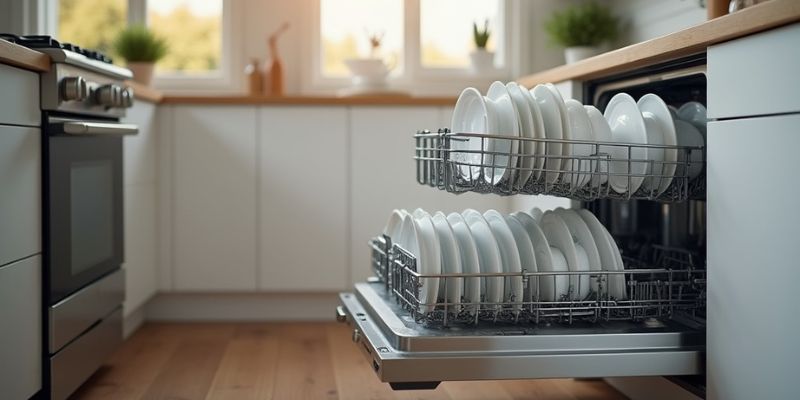
Loading your dishwasher correctly can dramatically improve cleaning results while maximizing each load’s capacity.
Place larger items like platters and serving bowls along the sides and back of the bottom rack, angling them slightly to maximize space.
Position plates facing the center, with the dirtiest surfaces aimed at the spray arms.
Reserve the top rack for glasses, cups, and lightweight plastic containers. Don’t block the detergent dispenser or spray arms with tall items.
Stack similar-sized dishes together, and avoid nesting bowls – instead, alternate their angles for better water circulation.
Leave space between items to prevent chipping and allow water to reach all surfaces.
Never place wooden utensils, cast iron, or fine china in your dishwasher.
Load silverware with handles down, except knives – place these handle-up for safety.
Clean Your Filter Monthly
Why do so many people overlook one of the most essential maintenance tasks for their dishwasher?
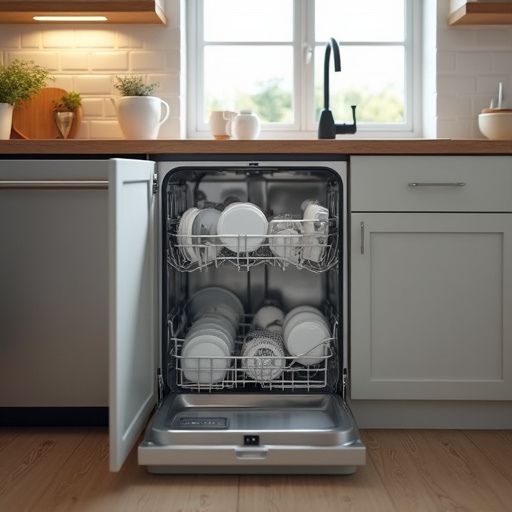
The filter, located at the bottom of your machine, traps food particles and debris that could clog your drain pump and spray arms.
When you skip cleaning it, you’re setting yourself up for expensive repairs.
To clean your filter, remove the bottom rack and locate the cylindrical filter assembly in the back.
Turn it counterclockwise to release it, then lift it out.
Separate the fine and coarse filters if your model has both.
Rinse them under hot water to remove debris, using a soft brush for stubborn particles.
Don’t use wire brushes or abrasive cleaners that could damage the mesh.
Reassemble the filters, ensuring they lock into place with a clockwise turn.
You’ll notice immediately cleaner dishes and better drainage.
Deep Clean Hidden Spray Arms
Much like a clean filter, your dishwasher’s spray arms need proper maintenance to keep your appliance running at peak performance.
Over time, mineral deposits and food particles can clog the tiny holes in these rotating arms, reducing water pressure and cleaning effectiveness.
Remove both the upper and lower spray arms by unscrewing their central mounting points.
You’ll notice small holes along each arm – these are prone to blockage.
Soak the arms in white vinegar for 30 minutes, then use a thin wire or toothpick to clear each hole.
Don’t forget to clean the central water ports where the arms attach to the dishwasher.
Once cleaned, test each arm’s spinning action by rotating them manually. They should move freely without resistance.
Proper maintenance of spray arms prevents costly repairs and guarantees your dishes come out spotless every time.
Vinegar Rinse Cycle Magic

For a powerful and natural cleaning boost, running a vinegar rinse cycle transforms your dishwasher’s performance.
Fill a dishwasher-safe cup with white vinegar and place it upright on the top rack.
Run an empty load on the hottest water setting, letting the vinegar work its magic throughout the cycle.
The acetic acid in vinegar cuts through mineral deposits, grease buildup, and soap scum that’s lurking in your machine’s hidden spaces.
You’ll eliminate those funky odors while dissolving the white film that often appears on glassware.
Don’t mix vinegar with detergent – this is strictly a vinegar-only cycle. For best results, perform this maintenance ritual monthly.
It’s a chemical-free solution that’ll keep your dishwasher running efficiently and prevent costly repairs down the road.
Proper Water Temperature Settings
While vinegar cleans effectively, water temperature plays an equally powerful role in your dishwasher’s cleaning performance.
You’ll want to set your water heater to 120-125°F (49-52°C) for best results.
Don’t go higher than 125°F – it’ll waste energy and potentially damage delicate items.
Before starting each cycle, run your sink’s hot water until it’s steaming.
This guarantees your dishwasher begins with hot water instead of cold water sitting in the pipes.
If you’ve got a newer model with a built-in heater, you can still benefit from this practice as it reduces strain on your appliance’s heating element.
Test your water temperature by using a meat thermometer in the running hot water.
If it’s below 120°F, adjust your water heater accordingly.
This simple step prevents mineral buildup and guarantees proper sanitization.
Clear Drain Hose Blockages

A clogged drain hose can quickly turn your dishwasher into a pool of dirty water.
Don’t let this common problem wreck your appliance or force you into costly repairs.
To clear blockages, first locate your drain hose – it’s the corrugated plastic tube connecting your dishwasher to either the garbage disposal or sink drain.
Disconnect both ends and straighten the hose completely.
Using a thin plumber’s snake or wire hanger, carefully work through any clogs you encounter.
Once clear, flush the hose with hot water and vinegar solution.
Check that your drain hose forms a high loop under your counter before connecting to the drain.
This prevents wastewater from flowing back into your dishwasher.
If you spot any cracks or damage while cleaning, replace the hose immediately – it’s an inexpensive fix that’ll prevent future headaches.
Check Door Seals Regularly
Your dishwasher’s door seals deserve the same attention as its drain system to maintain proper function.
You’ll need to inspect these rubber gaskets monthly for signs of wear, cracking, or food debris that can compromise their effectiveness.
To clean the seals, wipe them down with a solution of equal parts white vinegar and warm water.
Don’t use harsh chemical cleaners that can deteriorate the rubber.
You’ll know your seals need replacement if you spot water leaking onto the floor during cycles or notice the rubber has become brittle or torn.
Pro tip: Run your finger along the entire seal to feel for inconsistencies.
If you find damaged sections, don’t wait to replace them – a failed door seal can lead to water damage in your kitchen cabinets and flooring, costing you thousands in repairs.
Scrape, Don’t Pre-Wash
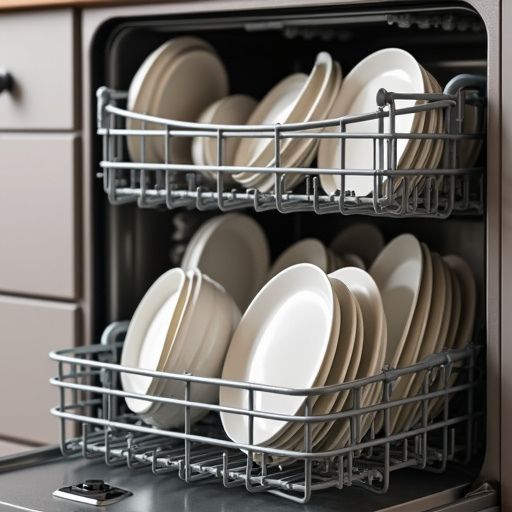
Most modern dishwashers work best when dishes are scraped clean of large food particles instead of being pre-washed.
Pre-washing wastes water and can actually confuse your dishwasher’s sensors, leading to a less effective clean.
Your machine’s sensors detect food particles to determine the cycle’s intensity and duration.
Here’s what you’ll want to do: Use a rubber spatula or scraper to remove large food pieces, bones, and debris into your trash or compost.
Don’t worry about small particles – they’re what your dishwasher’s designed to handle.
If you’re not running the dishwasher immediately, give dishes a quick rinse to prevent food from hardening.
For stubborn, dried-on foods, you can soak items briefly before loading them.
This approach saves water, preserves detergent effectiveness, and helps your dishwasher operate at peak performance.
Remove Mineral Buildup Naturally
With dishes properly scraped and loaded, maintaining your dishwasher’s internal components becomes the next priority.
Hard water deposits and mineral buildup can clog spray arms and reduce cleaning efficiency, but you don’t need harsh chemicals to solve this problem.
Pour two cups of white vinegar into a bowl, place it on the top rack, and run an empty cycle on high heat.
The vinegar’s natural acidity breaks down calcium deposits and limescale throughout the machine.
For stubborn buildup, sprinkle one cup of baking soda across the bottom of the empty dishwasher and run a short cycle.
You’ll remove years of accumulated minerals while protecting your machine’s components from corrosive cleaners.
Repeat this process monthly to prevent mineral deposits from forming and guarantee ideal water flow through spray arms and filters.
Run Full But Not Overcrowded

Running a dishwasher up to its intended capacity maximizes energy efficiency, but cramming dishes in haphazardly leads to poor cleaning results.
You’ll save money and get cleaner dishes by following proper loading techniques.
Place larger items like pots and casserole dishes at angles along the sides of the bottom rack.
Position plates vertically in the designated slots, and don’t let them touch.
Arrange bowls at a slight angle on the top rack, and place cups, glasses, and lightweight plastic containers up there too.
Don’t block the spray arms – they need to rotate freely.
Check by manually spinning them before starting a cycle. If items prevent rotation, rearrange them.
Keep small items like utensils separated in the basket to prevent nesting, which can trap food particles and water.
Use Proper Detergent Amounts
Proper loading techniques work best when paired with the right amount of detergent.
Many homeowners make the costly mistake of using too much, thinking it’ll get dishes cleaner.
It won’t – instead, excess detergent leaves harmful residue that can damage your machine’s components and reduce its lifespan.
Check your water hardness level first – harder water requires more detergent.
For soft to moderately hard water, use 2 tablespoons of powder or 2 teaspoons of gel. If you’ve got hard water, increase it by 25%.
Don’t fill the detergent cup completely unless you’re dealing with extremely hard water or heavily soiled dishes.
Using pods? One is enough for a full load.
Cut them in half for smaller loads to prevent detergent buildup and save money while extending your dishwasher’s life.
Clean Door Edges Weekly
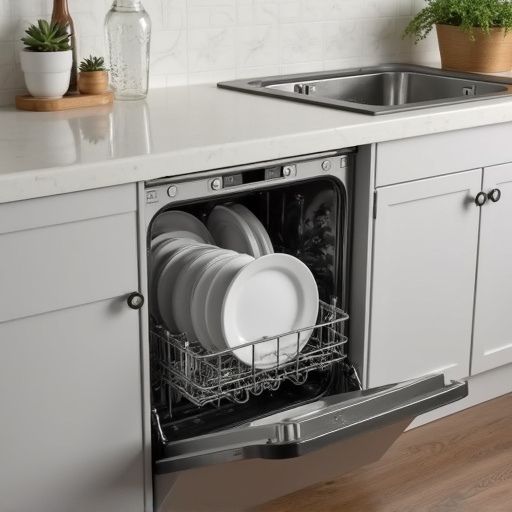
Along the door edges of your dishwasher, food particles, grease, and soap scum accumulate over time, creating a breeding ground for bacteria and mold.
These deposits can damage the door seal, leading to leaks and costly repairs.
To clean the edges, you’ll need a microfiber cloth, warm water, and white vinegar.
Mix equal parts water and vinegar in a bowl.
Dip your cloth in the solution and thoroughly wipe down the rubber gasket and all door edges, including the bottom lip.
For stubborn buildup, use an old toothbrush to scrub gently.
Don’t forget to clean both the door’s inner edges and the matching surfaces on the dishwasher frame.
After cleaning, dry the areas completely with a clean cloth to prevent moisture-related issues.
This weekly maintenance will extend your seal’s lifespan and prevent water damage.
Test Water Hardness Level
Testing your water’s hardness level is essential for ideal dishwasher performance, as high mineral content can leave spots on dishes and gradually damage internal components.
You’ll need a water hardness test kit from any hardware store or online retailer – they’re typically under $10.
Fill a clean glass with cold tap water and dip the test strip in for one second.
Compare the color changes to the chart provided.
If your reading exceeds 120 mg/L (or 7 grains), you’ll need to adjust your dishwasher’s water softener settings or install a whole-house water softener system.
For readings between 60-120 mg/L, use a water conditioner in your dishwasher’s pre-wash cycle.
Remember to retest every six months, as water hardness can fluctuate with seasonal changes or municipal water source modifications.
Unclog Spray Arm Holes
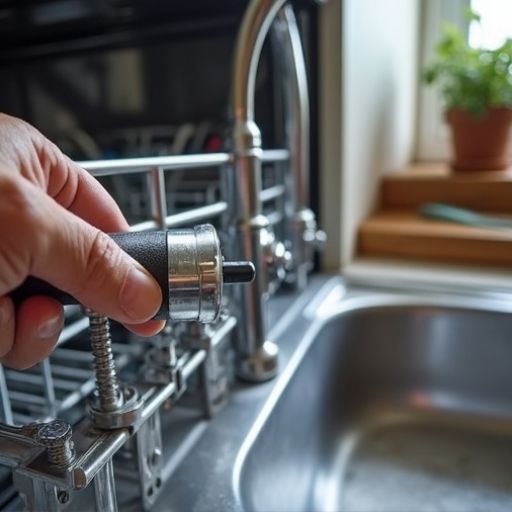
Hard water deposits aren’t the only culprits affecting your dishwasher’s cleaning power – blocked spray arm holes can markedly reduce its performance.
To restore ideal water flow, you’ll need to inspect and clean these essential openings regularly.
Remove both spray arms by unscrewing them from their mounting brackets. Hold each arm up to a bright light to identify clogged holes.
You can use a thin wire, toothpick, or needle-nose pliers to clear debris from these openings.
For stubborn mineral buildup, soak the arms in white vinegar for 30 minutes.
Don’t forget to check the center water feed tube where the spray arms attach – it often collects food particles and scale.
Once you’ve cleared all blockages, reattach the arms and run an empty cycle to confirm water sprays freely from all holes.
Protect Against Power Surges
Protecting your dishwasher from power surges isn’t just about preventing electrical damage – it’s essential for preserving its electronic control board and extending the appliance’s lifespan.
You’ll need to install a quality surge protector specifically designed for appliances.
Don’t settle for basic power strips – invest in a whole-house surge protector or a dedicated 20-amp appliance surge protector that can handle your dishwasher’s power requirements.
Mount it directly to your electrical panel or install it at the outlet where your dishwasher plugs in.
During lightning storms or when you’re expecting power fluctuations, unplug your dishwasher if it’s accessible.
If you’ve got a hard-wired unit, switch off its circuit breaker.
This simple habit can save you hundreds in repair costs and prevent the most common cause of control board failure.
Load Silverware Strategically

Properly loading silverware in your dishwasher’s basket maximizes cleaning efficiency and prevents damage to your utensils.
Place forks and spoons with handles down and sharp knives with handles up to protect your hands during unloading.
Don’t overcrowd the basket – leave space between items so water can circulate freely.
Alternate the direction of adjacent utensils to prevent nesting, which can trap food particles and leave items dirty.
Keep silver and stainless steel separated to prevent chemical reactions that can cause tarnishing.
Don’t put wooden handles, silver-plated items, or fine cutlery in the dishwasher – these require hand washing.
For best results, pre-rinse heavily soiled utensils and remove dried food before loading.
This prevents food particles from baking onto surfaces during the wash cycle.
Schedule Professional Maintenance Yearly
Regular professional maintenance of your dishwasher can prevent costly breakdowns and guarantee peak performance year-round.
Schedule a certified technician to inspect your unit every 12 months, even if you haven’t noticed any issues.
They’ll check critical components like the water inlet valve, spray arms, filters, and drain pump.
During maintenance, your technician will descale the interior, test water pressure, verify proper electrical connections, and calibrate temperature settings.
They’ll also inspect the door seal, hinges, and latch mechanism for wear.
You’ll get a detailed report of your dishwasher’s condition and recommendations for any necessary repairs.
While DIY maintenance helps, a professional can spot early warning signs you might miss and access parts you can’t reach.
This preventive approach costs far less than emergency repairs or premature replacement.
FAQs
Can I Safely Wash Wooden Cutting Boards and Cast Iron Skillets?
Don’t put wooden boards or cast iron in your dishwasher. You’ll ruin them both – wood warps and splits, while cast iron loses seasoning and rusts. Hand wash these items to maintain their quality and longevity.
Why Does My Dishwasher Make Grinding Noises During Certain Cycles?
Like a hungry beast, your dishwasher’s grinding noise usually means food particles are stuck in the chopper blade or drain pump. You’ll need to clean the filter and check for small objects causing the obstruction.
Is It Safe to Use Bleach to Sanitize My Dishwasher?
Don’t use bleach in your dishwasher – it’ll damage rubber seals and gaskets. Instead, run an empty cycle with white vinegar or use commercial dishwasher cleaners. These options are safer and equally effective.
How Long Should My Dishwasher Run Before I Need to Replace It?
You’ll typically get 7-12 years from your dishwasher with proper maintenance. You don’t need to replace it based on age alone – watch for signs like poor cleaning performance, leaks, or expensive repair costs.
Can Hard Water Damage My Dishwasher’s Heating Element?
Yes, hard water can damage your dishwasher’s heating element. The mineral buildup reduces efficiency and can cause burnout. You’ll want to use water softener or descaling products regularly to protect your investment.
Final Thoughts
Your dishwasher doesn’t have to be a ticking time bomb of repair costs.
By implementing these 17 maintenance secrets, you’ll transform your appliance from a potential money pit into a reliable workhorse.
From proper loading techniques to that game-changing vinegar rinse cycle, each step builds your dishwasher’s defense against wear and tear.
Don’t wait for problems to surface—start these practices today to secure years of efficient performance.