15 Dangerous Mistakes Keurig Owners Make Daily (Stop #9 Before Your Next Cup!)
Your morning coffee ritual might be exposing you to hidden dangers you’ve never considered.
While Keurig machines offer convenience and consistency, they can harbor harmful bacteria, accumulate toxic buildup, and compromise your health when not properly maintained.
You’re probably making several of these common mistakes right now, putting both your wellbeing and your expensive coffee maker at risk.
From the critical error of leaving stagnant water in the reservoir to the surprising dangers of reusing K-Cups, these daily oversights could be turning your coffee routine into a health hazard.
Let’s explore the most dangerous mistakes and learn how to protect yourself and your machine.
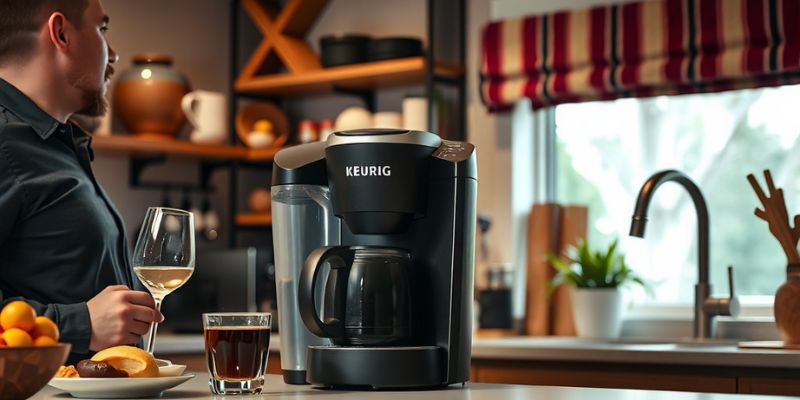
Never Descaling Your Machine
Over time, mineral deposits from water accumulate inside your Keurig brewer, forming a scaly buildup that affects performance and taste.
This limescale buildup doesn’t just impact your coffee’s flavor – it can clog internal components, reduce water flow, and potentially damage your machine’s heating element.
You’ll need to descale your Keurig every 3-6 months, depending on your water hardness and usage frequency.
Don’t skip this vital maintenance step, even if you’re using filtered water.
Watch for warning signs like slower brewing, incomplete cup fills, or unusual sounds during operation.
You can use Keurig’s descaling solution or white vinegar to remove these deposits.
If you’re using vinegar, run a 1:1 mixture of vinegar and water through the machine, followed by several clear water cycles to rinse thoroughly.
Using Unfiltered Tap Water
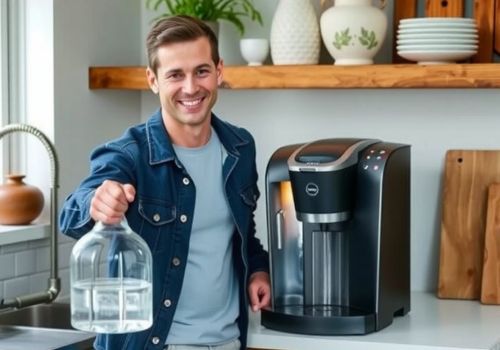
While filtered water might seem unnecessary for your daily coffee routine, using unfiltered tap water in your Keurig machine can lead to multiple issues that affect both performance and longevity.
Tap water contains minerals, chlorine, and sediments that gradually accumulate in your machine’s internal components, creating scale buildup and potential bacterial growth.
You’ll notice these problems manifesting as slower brew times, inconsistent water temperatures, and strange taste in your coffee.
More seriously, unfiltered water can clog the machine‘s internal water lines and heating element, potentially leading to complete system failure.
To protect your investment and guarantee the best-tasting coffee, use filtered water or install a Keurig-compatible water filter.
You’ll extend your machine’s lifespan, maintain ideal brewing performance, and enjoy cleaner, better-tasting coffee every time.
Leaving Water in the Reservoir
For many Keurig owners, leaving water in the reservoir between uses seems convenient, but this practice creates significant health and maintenance risks.
Stagnant water becomes a breeding ground for bacteria, mold, and algae, which can contaminate your coffee and potentially cause illness.
You’ll want to empty the reservoir after each day’s use and allow it to dry completely.
If you’ve left water sitting for more than 24 hours, don’t use it – dump it out.
Bacteria can multiply rapidly in standing water, especially in warm environments like your kitchen.
Plus, mineral deposits from old water can build up in your machine’s internal components, leading to clogs and reduced performance.
To protect your health and your investment, make it a habit to use fresh water for each brewing session.
Reusing K-Cups Multiple Times
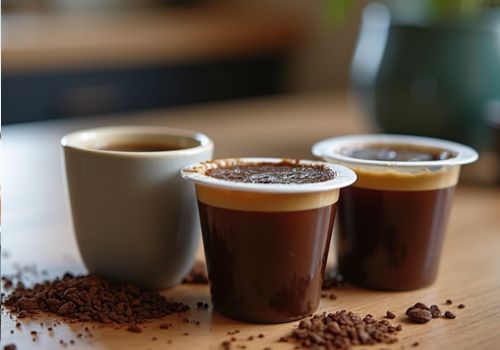
Although K-Cups are engineered for single use, many users attempt to stretch their value by brewing them multiple times.
This practice not only diminishes your coffee’s quality but also poses potential health risks you’ll want to avoid.
When you reuse K-Cups, you’re exposing yourself to harmful bacteria growth in the wet grounds.
The initial brew extracts most of the coffee’s oils, caffeine, and flavors, leaving behind soggy grounds that become an ideal breeding ground for mold and bacteria.
Additionally, the K-Cup’s filter and seal weren’t designed to withstand multiple punctures, which can lead to grounds in your coffee and potential machine clogs.
If you’re looking to reduce costs and environmental impact, consider purchasing a reusable K-Cup filter specifically designed for multiple uses instead of reusing disposable pods.
Ignoring Regular Needle Cleaning
The brewing needle in your Keurig represents another major area where proper maintenance directly impacts drink quality and machine longevity.
When coffee grounds and mineral deposits accumulate around the needle, they’ll restrict water flow and potentially introduce harmful bacteria into your drinks.
You’ll need to clean both the entry needle (top) and exit needle (bottom) at least once every three months.
Don’t wait until you notice problems – by then, significant buildup has already occurred.
Use Keurig’s cleaning tool or a paper clip to clear debris from the three holes in the needle assembly.
For stubborn buildup, mix equal parts water and white vinegar, fill the reservoir, and run multiple cycles without a K-Cup installed.
You’re not just maintaining your machine; you’re protecting yourself from contaminated beverages and ensuring consistent brewing performance.
Wrong Cup Size Selection
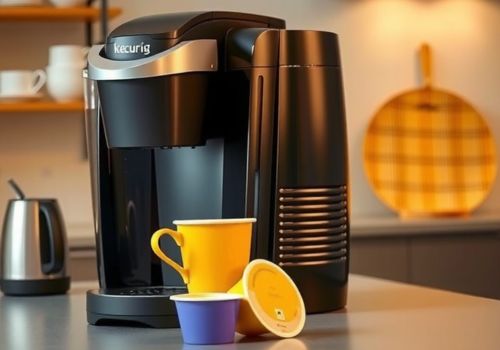
Many Keurig users mistakenly select incompatible cup sizes for their chosen K-Cups, resulting in drinks that taste either watered down or overly concentrated.
Each K-Cup is specifically designed to produce peak flavor at certain brew sizes, typically ranging from 4 to 12 ounces.
You’ll want to match your cup size selection to the K-Cup’s recommended brewing volume.
For regular coffee pods, don’t exceed 10 ounces, as this can lead to weak, flavorless coffee.
Extra bold K-Cups can handle larger volumes, while specialty beverages like cappuccinos and lattes require specific size settings for proper taste profiles.
Check the packaging of your K-Cups for peak brew size recommendations.
If you’re using a reusable filter, adjust your grounds amount according to your selected cup size to maintain ideal strength and flavor balance.
Not Preheating Your Cup
Starting your Keurig brew without preheating your coffee cup can greatly reduce your drink’s serving temperature by 15-20°F.
When hot coffee hits a cold ceramic or glass mug, the vessel instantly absorbs significant heat energy, leaving you with a lukewarm beverage that’s well below ideal drinking temperature.
You’ll get the best results by running a hot water cycle through your Keurig without a K-cup installed, filling your coffee mug with this hot water for 30 seconds.
Dump the water before brewing your actual coffee.
For even better temperature retention, you can store your favorite mug on top of your Keurig’s warming plate between uses.
This simple step guarantees your coffee maintains the perfect serving temperature of 160-185°F, letting you enjoy every sip exactly as intended.
Forgetting to Remove Used Pods
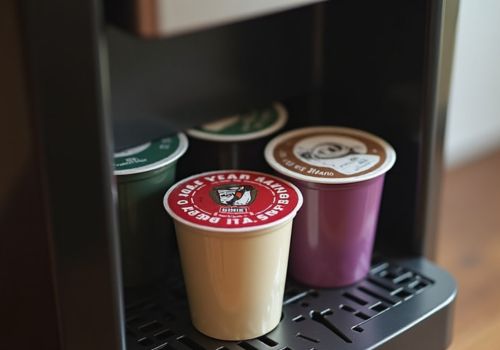
After brewing your coffee, leaving used K-cups in your Keurig’s pod holder creates a breeding ground for harmful bacteria and mold growth.
The warm, moist environment inside a used pod provides ideal conditions for microbial contamination, which can affect your next brew’s taste and potentially compromise your health.
You’ll want to remove the used pod immediately after brewing while it’s still warm.
If you forget, the grounds will dry and stick to the pod holder, making cleanup more difficult and increasing the risk of clogging your machine.
Don’t let convenience override safety – take the extra few seconds to eject and dispose of your pod.
If you’re rushing in the morning, make it a habit to check the pod holder before starting a new brew to guarantee you’re not contaminating your fresh coffee with yesterday’s leftovers.
Using Non-Food Grade Cleaners
While maintaining a clean Keurig is just as important as removing used pods, choosing the wrong cleaning products can pose serious health risks.
Using household cleaners, bleach, or non-food grade descaling solutions can leave harmful chemical residues in your machine’s internal components.
Stick to vinegar, citric acid, or Keurig’s approved descaling solution for your cleaning needs.
These food-safe options effectively remove mineral buildup and bacteria without introducing toxic substances into your morning brew.
If you’re using vinegar, mix equal parts with water and run multiple cycles, followed by clear water rinses until any acidic smell disappears.
Don’t fall for generic cleaning products that promise quick results – they might save you time but could contaminate your coffee with dangerous chemicals that won’t rinse away completely.
Skipping Weekly Maintenance Tasks
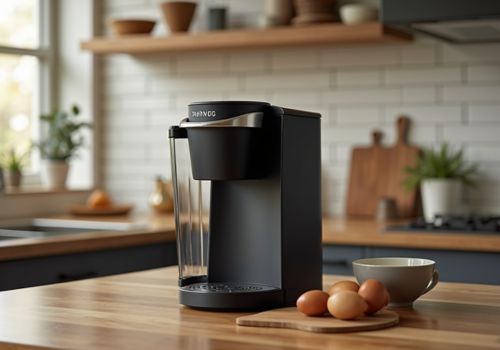
Regular maintenance of your Keurig coffee maker extends beyond basic cleaning and descaling.
You’ll need to perform several critical weekly tasks to prevent bacterial growth and guarantee peak performance.
Start by removing and thoroughly cleaning the K-cup holder assembly, wiping down the puncture needles with a damp cloth, and checking for any coffee grounds that might be clogging the system.
Don’t forget to clean the exit needle, which can harbor old coffee oils and mineral deposits.
Empty and sanitize the water reservoir weekly, even if you’re using filtered water.
These tasks aren’t just about maintaining your machine – they’re about protecting your health.
Skipping these weekly maintenance steps can lead to mold growth, bacterial contamination, and mechanical failures that’ll compromise both your coffee’s taste and your safety.
Forcing Pods to Fit
Inside your Keurig machine, the brewing system is precisely engineered to work with specific pod types and sizes.
When you try to force incompatible pods or reusable filters that don’t match your model’s specifications, you risk damaging the puncture needle and brewing mechanism.
Don’t attempt to modify pods or jam unauthorized containers into your machine, even if they appear similar in size.
The brewing chamber’s pressure system relies on proper pod placement and puncture alignment.
Forcing mismatched components can lead to:
- Cracked brewing heads
- Bent needle assemblies
- Internal water leaks
- Pressure system failures
- Electrical hazards from water exposure
Choose only Keurig-licensed K-Cups or manufacturer-approved reusable filters designed for your specific model.
You’ll protect your investment and guarantee safe, consistent brewing performance.
Blocking Machine Ventilation
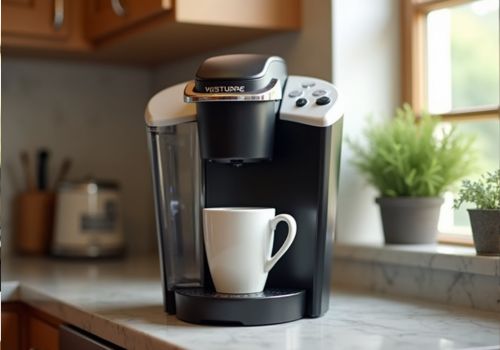
Just as proper pod placement protects internal components, maintaining clear ventilation around your Keurig is essential for safe operation.
Your machine needs adequate airflow to prevent overheating and maintain ideal brewing temperatures.
Don’t place your Keurig in cabinets, under shelves, or against walls where heat can’t escape.
You’ll find ventilation slots on the sides and back of your machine – these aren’t decorative features.
When you block these openings with nearby objects, stored items, or cabinet walls, you’re forcing your Keurig to work harder and potentially overheat.
This strain can lead to internal damage, shortened lifespan, and even fire hazards.
Keep at least 4 inches of clearance on all sides of your brewer, and never operate it in enclosed spaces.
Your machine needs to breathe freely to serve you safely.
Using Expired K-Cups
While K-Cups don’t technically spoil like fresh foods, brewing with expired pods can greatly impact your coffee’s taste and quality.
The sealed pods typically maintain peak freshness for 8-12 months from their production date, after which oxidation begins degrading the coffee grounds inside.
You’ll notice several telltale signs of expired K-Cups: the coffee tastes stale or flat, the aroma is weak, and you might detect slight rancidity from oxidized oils.
Don’t use pods with damaged seals, visible punctures, or those showing signs of moisture infiltration, as these conditions can breed harmful bacteria or mold.
To maximize your K-Cups’ lifespan, store them in a cool, dry place away from direct sunlight.
Check the “best by” dates regularly, and organize your pods to use older ones first.
Interrupting Brewing Cycles
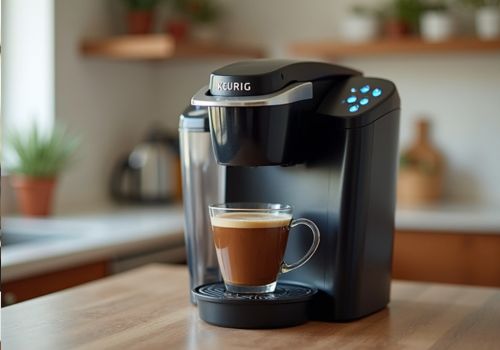
Interrupting an active brew cycle can damage your Keurig’s internal components and create potentially hazardous situations.
When you halt the brewing process mid-cycle, pressurized hot water can become trapped in the system, leading to unexpected sprays and potential burns when you next use the machine.
You’ll want to let every brew cycle complete naturally, even if you’ve accidentally selected the wrong cup size or forgotten to place your mug properly.
If you must stop a cycle due to an emergency, always press the power button first and wait 30 seconds before lifting the handle.
Don’t try to remove the K-cup or container while the machine is still running – the combination of pressure and near-boiling water can cause serious injury.
Your patience during the brief brewing process helps maintain your machine’s longevity and your safety.
Neglecting Drip Tray Cleaning
Many Keurig owners overlook their drip tray‘s critical role in preventing bacterial growth and mold formation.
Your drip tray collects coffee splashes, overflow, and condensation throughout multiple brewing cycles, creating a perfect environment for harmful microorganisms to thrive.
You’ll want to empty and thoroughly clean your drip tray at least weekly – more frequently if you’re a heavy user.
Remove both the drip tray and its cover, then wash them with warm, soapy water.
Don’t forget to sanitize the hidden area beneath where the tray sits, as liquid can seep into these spaces.
If you detect any unusual odors or notice black spots in your drip tray, you’re already behind on maintenance.
These signs indicate potentially dangerous mold growth that could contaminate your next brew and compromise your health.
FAQs
Can I Use My Keurig to Brew Loose Tea Leaves?
You shouldn’t brew loose tea leaves in your Keurig. They’ll clog the machine’s internal components and potentially damage it. Instead, use Keurig-compatible tea pods or invest in a dedicated loose-leaf tea infuser.
Why Does My Keurig Make a Loud Noise When Brewing?
You’re hearing your Keurig’s pump working hard to push hot water through. If the noise is unusually loud, you’ll want to descale immediately – mineral buildup can strain the pump and potentially damage your machine.
How Long Does a Keurig Machine Typically Last Before Needing Replacement?
You’ll typically get 3-5 years from your Keurig with proper maintenance, though some users report longer lifespans. Regular descaling, cleaning, and careful handling of the machine can greatly extend its operational life.
Is It Safe to Brew Hot Chocolate Packets in My Keurig?
You can brew hot chocolate in your Keurig, but you’ll want to use K-cup pods specifically designed for this purpose. Regular powder packets may clog your machine and void the warranty. Always run a water-only cycle afterward.
Can I Make Iced Coffee Directly Using My Keurig Machine?
While 65% of coffee drinkers enjoy iced coffee, you can brew directly over ice using your Keurig. Just fill a cup with ice, select a stronger brew setting, and let it cool naturally.
Final Thoughts
Like a vigilant guardian protecting a precious fortress, you must defend your Keurig against the silent enemies of limescale, bacteria, and neglect.
You’re not just brewing coffee; you’re maintaining a complex system that demands your consistent attention.
Don’t let your daily caffeine companion become a hazard zone.
By implementing these critical safety measures, you’ll transform your Keurig from a potential risk into a reliable brewing ally.